
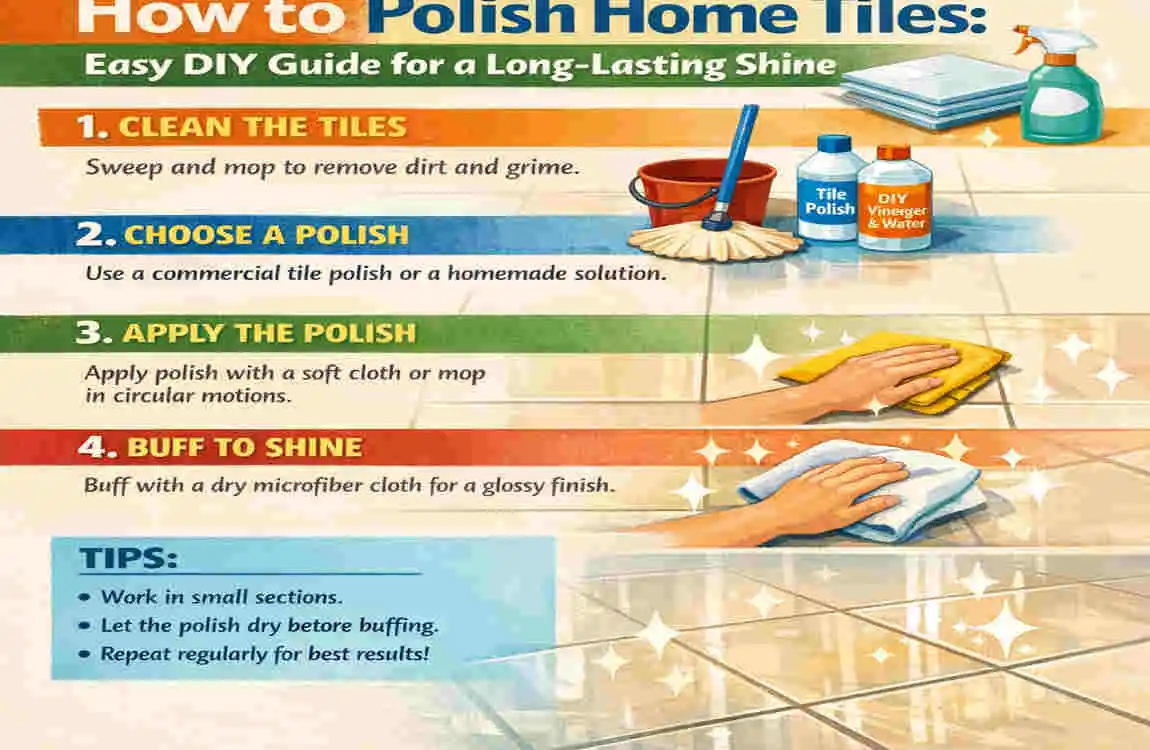
Shiny tiles can make your home look clean, fresh, and well-cared-for. But with time, dust, stains, hard water marks, and daily foot traffic can make even good tiles look dull.
The good news is that learning how to polish home tiles is simple. You do not always need a professional. With the right tools and a little care, you can bring back the shine and keep your floors looking beautiful for longer.
Why Should You Polish Home Tiles Regularly?
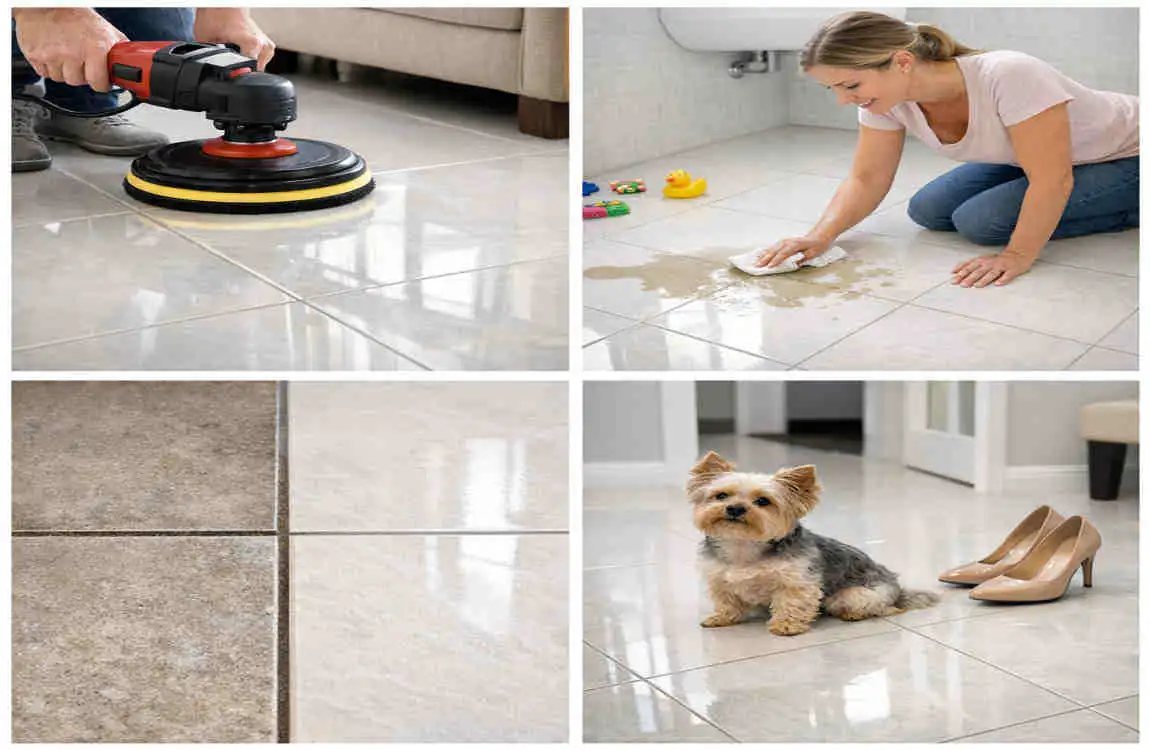
Improves the Appearance of Your Home
Polished tiles reflect light better and instantly make a room feel brighter. This matters a lot in spaces like kitchens, bathrooms, hallways, and living rooms.
A clean, shiny floor makes the whole clean home feel more polished and welcoming.
Protects Tiles From Damage
Polishing does more than improve looks. It also helps reduce small scratches, dirt buildup, and surface wear.
When you keep tiles clean and smooth, they stay in better shape and look newer for longer.
Increases Tile Lifespan
Regular care can help ceramic, porcelain, and natural stone tiles last longer. That means less repair work and fewer replacements later.
Different Types of Home Tiles and Their Polishing Needs
Ceramic Tiles
Ceramic tiles are one of the easiest types to clean and polish. They usually handle mild cleaners well.
For best results, use a soft cloth, a gentle tile cleaner, and a polish made for ceramic surfaces.
Porcelain Tiles
Porcelain tiles are strong, but they still need careful cleaning. Avoid harsh chemicals because they can leave dull spots.
A mild polish and a microfiber cloth usually work best.
Natural Stone Tiles
Stone tiles such as marble, granite, and limestone require extra care. Acidic cleaners or the wrong polish can damage these surfaces.
Always use stone-safe products and test on a small area first.
Glossy vs Matte Tiles
Glossy tiles are easier to shine because they already reflect light. Matte tiles are different. They are not meant to look highly polished, so use only light cleaning and the right finish-safe product.
Tools and Materials Needed to Polish Home Tiles
Tool/MaterialPurpose
Microfiber cloth Removes dust and adds shine
Soft mop Deep cleans tiles
Tile cleaner Removes dirt and stains
Tile polish solution Restores shine
Baking soda Natural stain remover
Soft brush Cleans grout lines
Tile buffer machine (optional) Professional-level polishing
How to Polish Home Tiles: Step-by-Step DIY Guide
Remove Dust and Loose Dirt
Start by sweeping or vacuuming the floor. This keeps dust from scratching the tile during cleaning.
Pay extra attention to corners, under furniture, and other high-traffic spots.
Clean Tiles Thoroughly
Use warm water and a mild tile cleaner. Mop the floor slowly to remove grease, dirt, and dull buildup.
If the tiles are very dirty, clean them twice before polishing.
Clean the Grout Lines
Grout can make tiles look old even when the tiles themselves are fine. Use a soft brush with grout cleaner or a baking soda mix.
Scrub gently so you do not damage the grout.
Apply Tile Polish
Choose a polish that matches your tile type. Use a small amount and apply it evenly with a microfiber cloth.
Do not rush this step. Even application gives a smoother shine.
Buff the Tile Surface
Buff the floor in small circular motions. This helps bring out the shine and spreads the product evenly.
Let the polish dry properly before walking on the floor.
Remove Extra Product
Wipe away any leftover polish. Check for streaks, cloudy spots, or sticky areas.
A clean finish makes the floor look much better.
Natural DIY Methods for Polishing Home Tiles
Using Vinegar Solution
A diluted vinegar mix can help remove mineral buildup and light grime. It works well on some tile types.
But do not use vinegar on natural stone like marble or limestone. The acid can damage the surface.
Baking Soda Cleaning Method
Baking soda is useful for lifting stains and light dirt. Mix it with water to make a paste, then apply it gently.
It is a simple and low-cost option for many homes.
Lemon and Water Mixture
Lemon water can help freshen tile surfaces and cut through light buildup. Still, it should be used carefully because it is acidic.
Avoid it on stone tiles.
Common Mistakes to Avoid When Polishing Tiles
Using Wrong Cleaning Products
Harsh chemicals can strip away shine or damage the finish. Always read the label and match the product to the tile type.
Over-Polishing Tiles
Too much polishing can make some tiles too slick. That can become a safety issue, especially in bathrooms and kitchens.
Ignoring Grout Maintenance
Dirty grout makes the whole floor look dull. Clean grout is just as important as shiny tiles.
Using Rough Scrubbing Tools
Steel wool or hard brushes can scratch the tile. Stick with soft tools whenever possible.
How Often Should You Polish Home Tiles?
Area Recommended Polishing Frequency
Kitchen floor Every 3–6 months
Bathroom tiles Every 3–6 months
Living room tiles Every 6–12 months
High-traffic areas More frequently
Your cleaning routine depends on how much use the area gets. Busy spots will usually need more attention.
Professional Tile Polishing vs DIY Tile Polishing
DIY Tile Polishing Benefits
DIY polishing is affordable and easy to keep up with. It works well for regular maintenance and light shine restoration.
It is a good choice if your tiles are still in fair condition.
Professional Tile Polishing Benefits
Professional service is better for damaged tiles, deep stains, or natural stone floors. Experts use stronger tools and more advanced methods.
That makes it a smart choice when the floor needs real restoration.
FeatureDIY PolishingProfessional Service
Cost Low Higher
Time More effort Faster results
Equipment Basic tools Advanced machines
Best For Regular maintenance Deep restoration
Tips to Keep Home Tiles Shiny Longer
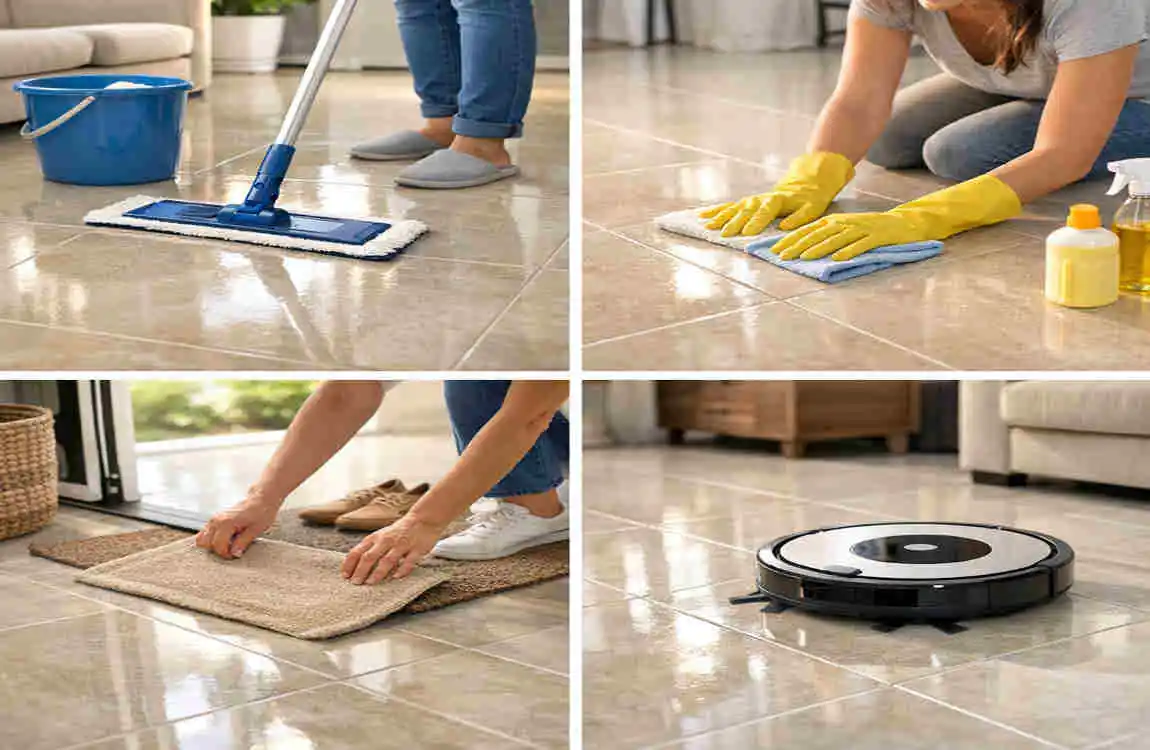
Here are a few easy habits that help a lot:
- Clean spills immediately
- Use doormats near entrances
- Avoid dragging heavy furniture
- Mop regularly with suitable cleaners
- Keep grout clean
- Do not use too much water
These small steps protect the shine and reduce buildup over time.
Best Tile Polishing Products to Consider
Look for products that match your tile type. A good choice can make house polishing much easier.
Useful options include:
- Tile polish sprays
- Floor polishing creams
- Stone-safe polishing products
- Eco-friendly cleaning solutions
Always avoid using a product that is too strong for the material.
Frequently Asked Questions
How do you polish home tiles naturally?
You can use mild methods like baking soda and water, but always test on a small area first.
Can I use vinegar to polish all types of tiles?
No. Vinegar can damage natural stone tiles like marble and limestone.
How often should I polish my home tiles?
Most tiles do well with polishing every few months, depending on use and material.
Can tile polishing remove scratches?
Light marks may improve, but deep scratches usually need professional repair.
What is the easiest way to make tiles shiny?
Regular cleaning, a proper tile polish, and buffing with a microfiber cloth work very well.
| Topic | Information |
|---|---|
| Guide Title | How to Polish Home Tiles: Easy DIY Guide for a Long-Lasting Shine |
| Purpose | Restore tile shine, remove dullness, and improve the appearance of floors and walls. |
| Suitable Tiles | Ceramic, porcelain, marble, granite, terrazzo, and natural stone (use stone-safe polish where required). |
| Difficulty Level | Easy (DIY-friendly) |
| Estimated Time | 30–90 minutes, depending on the area size. |
| Tools Needed | Microfiber mop, soft cloth, bucket, sponge, soft-bristle brush, mop. |
| Cleaning Supplies | Warm water, mild tile cleaner, baking soda (for stains), white vinegar (avoid on natural stone), tile polish or stone polish. |
| Basic Steps | Sweep → Wash the tiles → Remove stains → Let dry → Apply tile polish → Buff with a microfiber cloth. |
| Best DIY Tip | Always clean tiles thoroughly before applying polish for the best shine. |
