
There’s nothing worse than stepping into a cold shower, especially during chilly mornings. For many homeowners in regions like , where compact bathrooms and fluctuating water temperatures are common, installing a water heater can make all the difference. Not only does it provide the comfort of on-demand hot water, but it’s also a cost-effective upgrade that can save you up to 30% on energy bills.
| Action | Tools/Materials Needed | Key Tips & Safety Notes | |
|---|---|---|---|
| Turn off mains power and water supply. Clear area and choose wall spot 1.5-2m high, away from direct spray (IP25+ rated zone). | Screwdriver, multimeter, bucket | Check wall strength (use anchors for drywall). Get helper for heavy units. | |
| Use template to mark holes. Drill, insert plugs/anchors, secure brackets. Hang unit and level it. | Drill, level, wall plugs, wrench, mounting kit | Mount at eye level for easy access. Ensure 10cm clearance around unit. | |
| Connect cold inlet (bottom): Cold pipe → inlet valve with Teflon tape. Hot outlet → shower mixer/head. | Pipe cutter, Teflon tape, flexible hoses, spanner | Hand-tighten + 1/4 turn. Flush lines to remove debris before full connect. | |
| Run dedicated 10-16A circuit with RCD (30mA). Connect live/neutral/earth per manual. | Wire strippers, junction box, RCD breaker, insulated cables | Power OFF during wiring. Test voltage (220-240V). Consult electrician if unsure. | |
| Turn on water slowly. Inspect all joints for drips (use dry cloth/paper). Tighten as needed. | Bucket, cloth | No power on yet. Pressure test at 2-3 bar if possible. | |
| Switch on power. Set temp to 45-50°C. Run shower for 5 mins; check flow/heat. | Thermometer (optional) | Listen for unusual noises. Adjust flow if overheating. Initial heat-up: 2-5 mins. | |
| Insulate pipes if needed. Add anti-scald mixer. Label switches. | Pipe insulation, labels | Annual descale with vinegar. Life expectancy: 5-8 years with maintenance. |
Why install a Water Heater in Your Home Bathroom Shower?
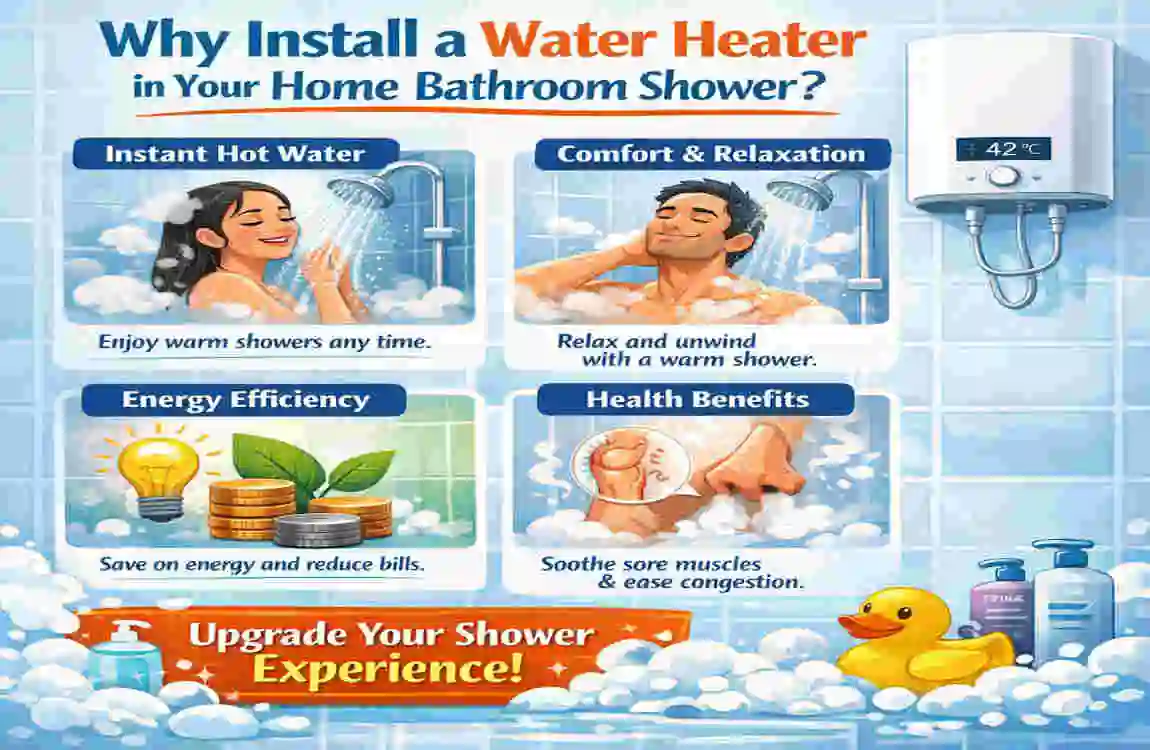
Hot water is a necessity in modern homes, and the demand for on-demand hot water systems has risen significantly in recent years. Whether you’re upgrading for convenience or energy savings, installing a water heater in your bathroom offers several advantages.
Benefits of Installing a Bathroom Water Heater
- Space-Saving Design: Modern water heaters, especially tankless models, are compact and can be wall-mounted, making them ideal for small bathrooms.
- Energy Efficiency: Tankless water heaters eliminate standby heat loss, significantly reducing electricity consumption.
- Quick ROI: The initial investment pays off within 1-2 years due to lower energy costs and minimal maintenance.
- Convenience: Enjoy endless hot water during peak hours without worrying about running out.
Tankless vs. Storage Water Heaters: Which Is Better?
TypeProsCons
Tankless Compact, instant hot water, energy-efficient. Higher upfront cost, requires stable electricity.
Storage: Stable hot water supply, budget-friendly, Bulky, uses more energy due to heat loss.
In urban areas, tankless water heaters are generally preferred for their compact size and compatibility with 110-220V electrical systems.
Types of Water Heaters for Bathroom Showers
Choosing the right water heater depends on your household size, water usage, and budget. Here’s a breakdown of the most common options:
Instant/Tankless Water Heaters
- Pros: Compact, heats water instantly, and is easy to install for single-shower use.
- Cons: Higher power draw (3-8kW) may require electrical upgrades.
Mini Storage Water Heaters
- Pros: Provides a stable supply of hot water, ideal for small families.
- Cons: Bulkier design and slightly higher energy consumption.
TypePower RatingInstall DifficultyHot Water Output
Instant Shower 3-8kW Easy DIY 5-10L/min
Mini Storage 2-3kW Moderate 5-15L capacity
Tools and Materials Checklist
Before beginning your installation, gather all the necessary tools and materials. This will save time and ensure a smoother process.
Tools You’ll Need
- Drill and drill bits
- Level for accurate mounting
- Wrench set for tightening connections.
- Pipe cutter for trimming pipes
- Multimeter for electrical testing
Materials Required
- Water heater unit
- Teflon tape for leak-proof seals
- Copper or PVC pipes for plumbing connections
- Wall anchors for secure mounting
- Residual Current Device (RCD) breaker for safety
Preparation Steps Before Installation
Preparation is key to a safe and efficient installation. Follow these steps to set up your space before installing the water heater.
Step-by-Step Preparation
- Turn Off Utilities: Shut off the main electricity and water supply to ensure safety while working.
- Assess Bathroom Zones: Check for compliance with IP ratings. For example, Zone 1 (near the shower) requires devices with IP65+ ratings for water resistance.
- Wall Inspection: Ensure the wall is load-bearing and capable of supporting the unit’s weight. Avoid drywall-only installations.
- Measure Shower Height: The ideal mounting height for a water heater is 1.8-2 meters from the ground.
Important: In urban areas like , some installations may require permits, so check local regulations before proceeding.
Step-by-Step Installation Guide
This is the heart of our guide. Below, we’ll walk you through the complete process of installing a water heater in your home bathroom shower.
Mounting the Unit
- Mark the Spot: Use a level to mark the mounting location on the wall, ideally at 1.5 meters above the floor.
- Drill Holes: Drill holes into the wall at the marked spots and insert wall anchors.
- Secure the Brackets: Attach the mounting brackets and ensure they are level before securing the water heater.
Plumbing Connections
- Cold Water Inlet: Connect a pipe from the shower mixer to the cold water inlet of the water heater. Use Teflon tape to seal the threads.
- Hot Water Outlet: Attach a pipe from the water heater’s hot outlet to the showerhead valve.
- Test for Leaks: Once connected, turn on the water supply and check for leaks around the fittings.
Electrical Wiring
- Install an RCD Circuit: Use a 10-16A RCD breaker to protect against electrical surges.
- Connect Wires: Follow the manufacturer’s instructions to connect the neutral, live, and ground wires properly.
- Test the Wiring: Use a multimeter to ensure the wiring is correct and the voltage matches the heater’s requirements.
Final Testing and Troubleshooting
- Flush the System: Run water through the unit to flush out any debris.
- Power On: Turn on the electricity and test the water temperature. Adjust the settings to achieve a comfortable range of 40-50°C.
- Troubleshoot Issues: If the water isn’t heating, check the fuse or wiring connections. Tighten any loose fittings to fix leaks.
Safety Tips and Common Mistakes to Avoid
Safety should always come first when dealing with water and electricity. Here are some tips to ensure a safe installation:
Common Mistakes and Fixes
MistakeFix
Poor mounting. Use a level and wall anchors
No RCD breaker. Install a 30mA RCD for safety
Over-tightening pipes. Hand-tighten, then give one extra turn.
General Safety Tips
- Always wear insulated gloves when working with electricity.
- Do not install the water heater in Zone 0 (inside the shower area).
- Check the manufacturer’s manual for specific safety recommendations.
Maintenance for Longevity
Regular maintenance can extend your water heater‘s lifespan to 5-10 years. Here’s how to care for it:
- Descale Annually: Use a vinegar solution to flush out mineral buildup.
- Inspect Connections: Check pipes and fittings regularly for leaks.
- Monitor Temperature: Keep the thermostat at an optimal range (40-50°C) to prevent overheating.
Cost Breakdown and Savings
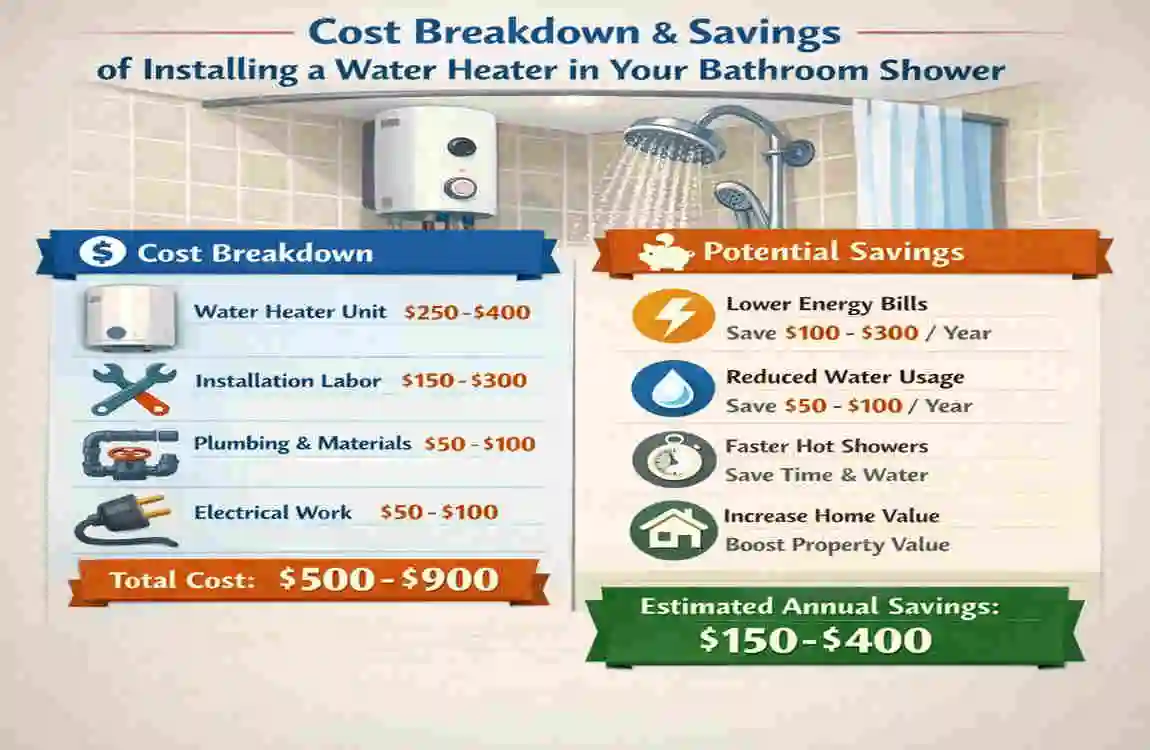
Installing a water heater yourself can save you significant money compared to hiring a professional. Here’s an estimate of the costs:
Expense DIY Cost Professional Cost
Water Heater Unit $50-300 $50-300
Tools/Materials $50-100 Included in service
Labor Free $100-200
Total DIY Savings: $100-200
Frequently Asked Questions (FAQ)
Can I install a water heater myself
Yes, with the right tools and safety precautions, DIY installation is possible and cost-effective.
What’s the best water heater for small bathrooms?
A tankless electric water heater is ideal for compact spaces due to its slim design.
How long does it take to install a water heater?
DIY installation typically takes 2-4 hours, depending on your experience level.