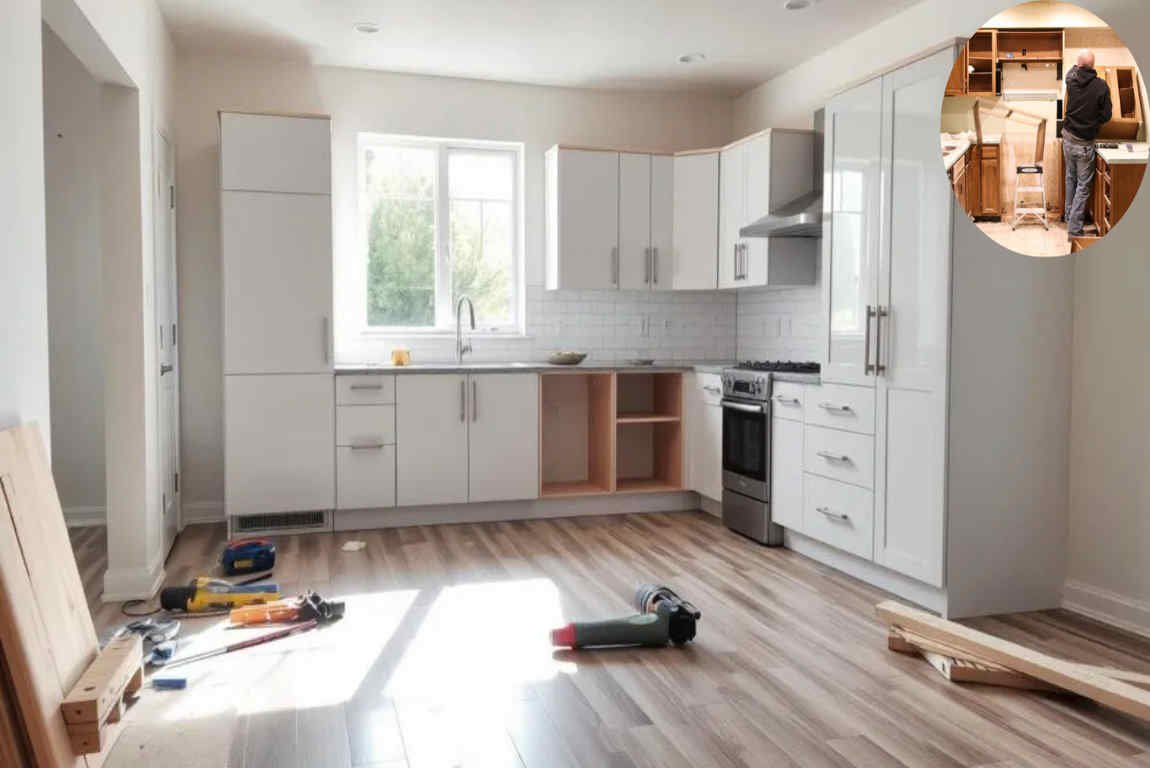
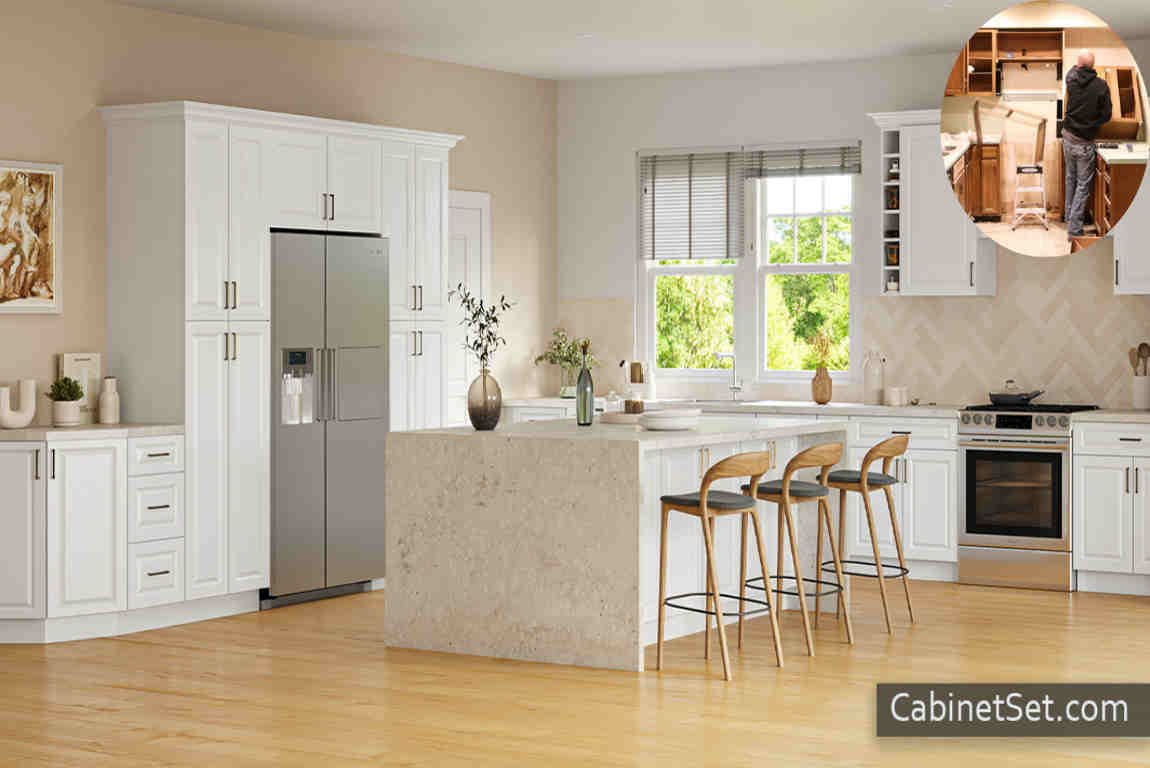
Replacing the floor under kitchen cabinets can seem like a daunting task. But with the right approach, tools, and guidance, it’s a manageable project that can transform the aesthetics and functionality of your kitchen. In this detailed guide, we’ll walk you through step-by-step instructions, practical tips, and expert insights on how to replace floor under home kitchen cabinets, whether you’re tackling it yourself or hiring a professional.
The kitchen is often regarded as the heart of the home. It’s where meals are prepared, memories are made, and family and friends gather. However, over time, kitchen flooring can wear out due to heavy foot traffic, water damage, or outdated styles. This often raises the question: what about the flooring under kitchen cabinets?
Replacing the floor under kitchen cabinets is a unique challenge. Cabinets are typically heavy, fixed in place, and filled with essential items, making the flooring underneath difficult to access. Yet, ensuring the flooring under the cabinets is in good condition is crucial for the long-term durability and appearance of your kitchen.
Understanding the Basics of Kitchen Flooring Replacement
Before jumping into the process, it’s essential to understand the foundational aspects of kitchen flooring replacement. This knowledge will help you decide on the best approach for your kitchen.
Types of Flooring Found in Kitchens
Kitchen flooring comes in several materials, each with distinct benefits:
- Hardwood: Popular for its timeless appearance but prone to water damage if not sealed properly.
- Laminate: Affordable and easy to install but less durable in high-moisture areas.
- Title: Extremely durable and moisture-resistant, though more challenging to replace.
- Vinyl: Affordable, water-resistant, and available in a variety of styles.
The flooring under your cabinets is typically installed at the time of the kitchen’s initial construction. Depending on the material, this can present challenges when attempting to replace it without disturbing the cabinetry.
Why Flooring Under Cabinets Matters
The condition of the flooring beneath cabinets impacts the overall durability and appearance of your kitchen. Damaged or uneven flooring under cabinets can:
- Cause cabinets to sit unevenly.
- Lead to water damage or mould growth.
- Affect the resale value of your home.
Two Main Replacement Approaches
When replacing flooring under cabinets, you have two main options:
- Replace Flooring Without Removing Cabinets
- This method is ideal for minor updates, as it saves time and minimizes disruption.
- Remove Cabinets to Replace Flooring
- A better choice for major renovations or when the flooring and subfloor are significantly damaged.
Each approach has its pros and cons, which we’ll discuss in detail below.
Preparing Your Kitchen for Flooring Replacement
Preparation is the key to a successful flooring project. Before you start cutting or removing anything, follow these steps:
You may also read (top flooring materials).
Clear the Kitchen Space
- Remove Movable Items: Take out all appliances, rugs, utensils, and other movable objects. This ensures you have a clean, unobstructed workspace.
- Clean the Floor: Sweep and mop the existing floor to remove debris. A clean surface will make it easier to assess the condition of the subfloor and existing materials.
Gather Tools and Safety Equipment
Having the right tools on hand is crucial for a smooth process. You’ll likely need:
- A jigsaw or circular saw with a fine-tooth blade for cutting flooring.
- A pry bar for removing old flooring.
- Cabinet jacks or wooden shims if you need to lift cabinets slightly.
- Measuring tape, pencil, and a straightedge for precise measurements.
- Safety gear, including gloves, goggles, and ear protection.
Take Accurate Measurements
Measure the area of the kitchen floor, including the edges around the cabinets. Accurate measurements will prevent material waste and ensure a seamless finish.
How to Replace Floor Under Home Kitchen Cabinets Without Removing Cabinets
If you want to replace your kitchen flooring without removing the cabinets, here’s how to do it step by step.
Assess the Existing Flooring
Determine the type of flooring and how it’s installed (e.g., glued, nailed, or floating). This will guide your removal process.
Cut the Old Flooring
Using a circular saw or plunge saw, carefully cut the old flooring close to the cabinet edges. Leave a small gap, which will later be hidden by kickboards or trim.
Remove Old Flooring
Use a pry bar or multi-tool to lift and remove the old flooring pieces. Work slowly to avoid damaging the subfloor or cabinet bases.
Inspect and Repair the Subfloor
Check the subfloor for any signs of rot, water damage, or unevenness. If needed:
- Use a levelling compound to smooth out uneven areas.
- Replace sections of the subfloor that are severely damaged.
Install New Flooring
- Cut the new flooring to fit precisely around the cabinet bases.
- Install the flooring only in visible areas, leaving gaps hidden by kickboards or trim.
- For tight spaces, use a jigsaw or tile saw for precise cuts.
Finish with Trims and Caulk
Use baseboards, trims, and caulk to cover gaps and create a seamless finish around the cabinets.
Pro Tip: If you can lift the cabinets slightly using cabinet jacks or shims, tuck the new flooring underneath for a cleaner look.
How to Replace Floor Under Kitchen Cabinets by Removing Cabinets
In some cases, removing the cabinets is the best approach. Here’s how to do it:
When to Consider Removing Cabinets
- If the subfloor is severely damaged or uneven.
- During a full kitchen remodel.
- When replacing all flooring for a uniform look.
Step-by-Step Guide for Cabinet Removal
- Disconnect Utilities: Turn off and disconnect plumbing and electrical connections.
- Empty Cabinets: Remove all items from the cabinets.
- Detach Cabinets: Safely unscrew cabinets from walls and floors, and remove cabinet doors and drawers.
- Remove Old Flooring: Take out the old flooring entirely, including under the cabinets.
- Install New Flooring: Lay the new flooring across the entire kitchen area, including under the cabinets.
- Reinstall Cabinets: Carefully reinstall cabinets, ensuring they sit evenly on the new flooring.
Choosing the Right Flooring Material for Under Cabinet Areas
Selecting the right flooring is essential for durability and aesthetics.
Material Durability Moisture Resistance Ease of Installation Cost
Hardwood High Moderate Moderate $$$
Laminate Moderate Low Easy $$
Tile Very High Very High Challenging $$$
Vinyl High High Easy $
Tips:
- Select moisture-resistant materials, such as tile or vinyl, for areas prone to spills.
- Match the flooring’s colour and texture to your kitchen’s style for a cohesive look.
Common Challenges and How to Overcome Them
Here are some common issues you may face and tips to resolve them:
- Uneven Subfloors: Use a levelling compound to smooth uneven areas.
- Tight Spaces: Use compact tools, such as a multi-tool or jigsaw, for precise cuts.
- Water Damage: Inspect thoroughly and replace damaged subfloor sections.
- Damage to Cabinets: Work slowly and use protective materials to avoid scratching cabinet bases.
Maintenance Tips for Long-Lasting Kitchen Flooring
To ensure your new flooring lasts, follow these maintenance tips:
- Regularly clean with a damp mop and mild cleaner.
- Address spills immediately to prevent water damage.
- Inspect the flooring and subfloor annually for signs of wear or damage.
- Use protective pads on furniture to avoid scratches.
You may also read (the truth about drains in home kitchen faucets).
