
Sticky kitchen cabinets are a common and frustrating problem for many homeowners. Over time, grease, grime, moisture, and dust can settle on cabinet surfaces, leaving them sticky, dull, and unpleasant to touch. This stickiness not only affects the look of your kitchen but also compromises its hygiene and usability.
Understanding the Causes of Stickiness on Kitchen Cabinets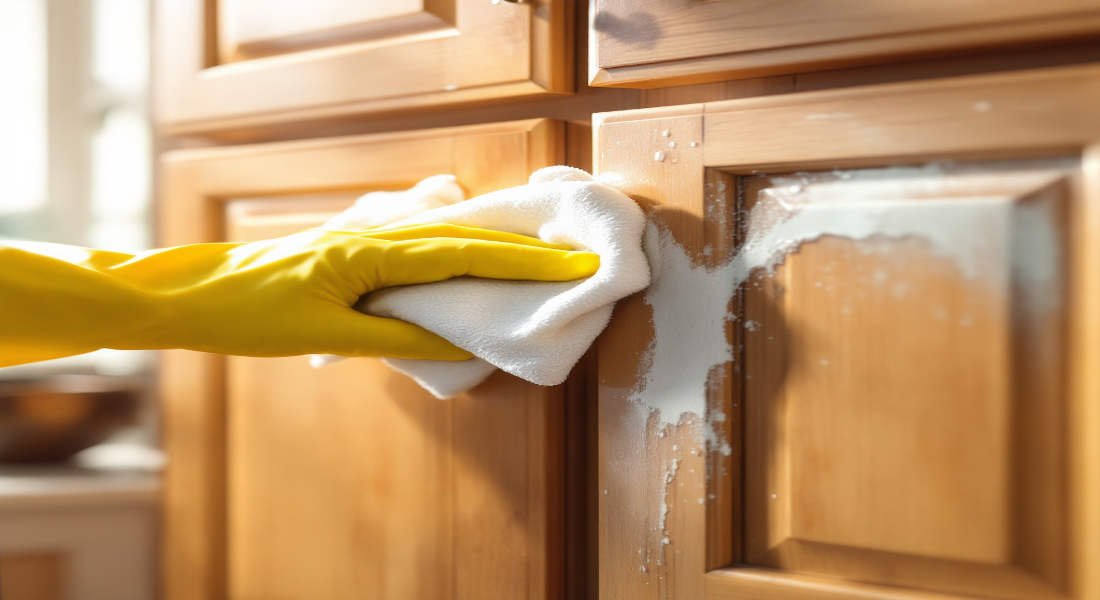
Before you start cleaning, it’s important to know what’s causing the stickiness. Identifying the root cause will help you choose the right cleaning method and prevent further buildup. Let’s break down the most common culprits:
Dust and Dirt Accumulation
Dust, combined with natural oils from your hands, can build up over time, especially on cabinet handles and frequently touched areas. This creates a sticky layer that’s hard to remove with just a quick wipe.
Grease and Grime from Cooking
Cooking activities release grease particles into the air, which eventually settle on nearby surfaces, including your cabinets. Over time, this grease combines with dust and other particles, creating a stubborn sticky residue.
Adhesive Residue
If you’ve ever placed stickers, labels, or tape on your cabinets, the leftover adhesive can leave a sticky mess. This residue can attract dust and dirt, making the stickiness worse.
Moisture and Humidity
Kitchens are prone to high humidity levels, especially if you cook frequently. Excess moisture can cause wood cabinets to swell slightly, leading to a sticky texture.
Improper Cleaning Products
Using the wrong cleaning products, such as harsh chemicals or oily sprays, can leave behind a sticky film. For example, some furniture polishes can attract dirt if not wiped off properly.
Pro Tip: Once you identify the cause of the stickiness, you can target it more effectively with the right cleaning solution. For instance, grease requires degreasers, while adhesive residue might need heat or oil-based solutions.
Essential Materials and Tools Needed for Cleaning Sticky Cabinets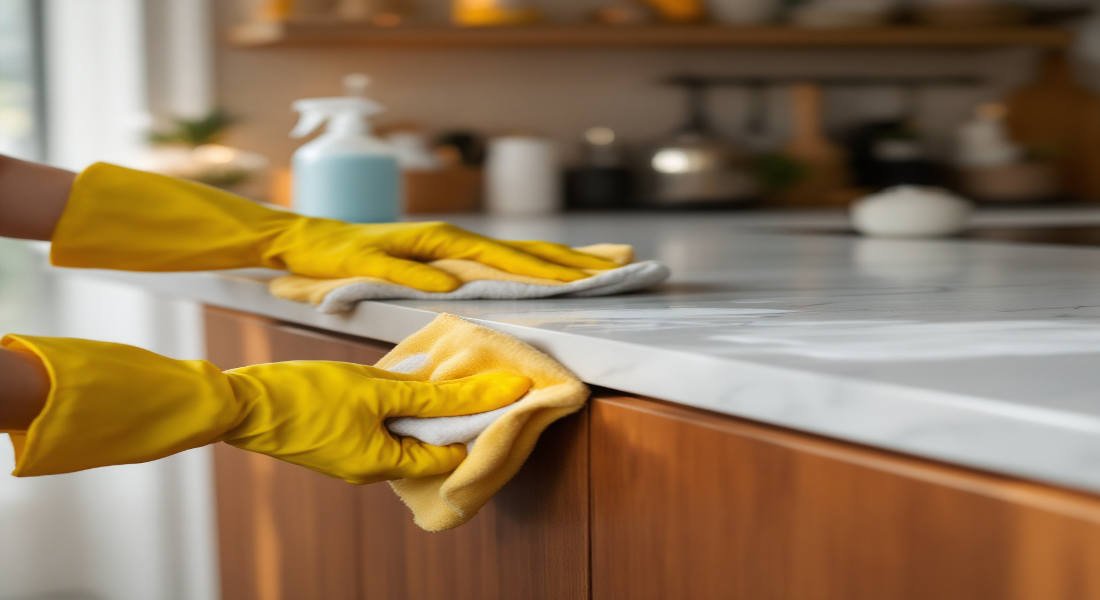
Before diving into the cleaning process, gather the necessary tools and materials. Having the right supplies will make the task easier and ensure you don’t damage your cabinets.
You may also read (extreme home makeover).
What You’ll Need:
- Soft, Lint-Free Cloths
- Microfiber cloths are ideal because they’re gentle and effective at trapping dirt.
- Mild Detergents
- Dish soap or hand soap works well for removing grease and grime.
- Warm Water
- Essential for diluting cleaning solutions and loosening sticky buildup.
- Natural Cleaning Agents
- White vinegar and baking soda are excellent for cutting through grease and removing stains.
- Soft-Bristled Brush or Toothbrush
- Perfect for scrubbing hard-to-reach areas and crevices.
- Optional Tools:
- Vegetable oil for adhesive residue.
- Gentle scrubbers for stubborn spots.
What to Avoid:
- Harsh chemicals like bleach or ammonia can damage cabinet finishes.
- Abrasive scrubbers or steel wool can scratch the surface.
Step-by-Step Guide to Cleaning Sticky Kitchen Cabinets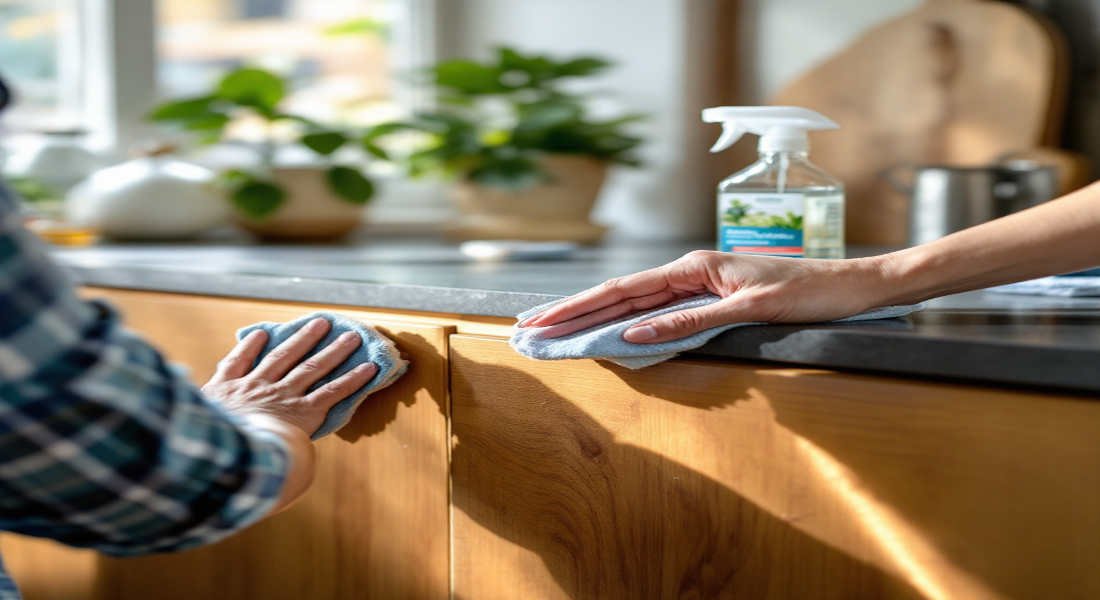
Now that you have your tools ready let’s walk through the cleaning process step by step. This comprehensive guide ensures you tackle every sticky spot while protecting the integrity of your cabinets.
Preparation
- Clear the Cabinets: Remove all items from your cabinets to access the surfaces easily.
- Dust First: Use a dry microfiber cloth to wipe away loose dust and debris. This prevents dirt from mixing with your cleaning solution and creating a muddy residue.
Basic Cleaning Solution
- Mix the Solution: Combine warm water with a few drops of mild dish soap or wood cleaner in a bowl.
- Dampen a Cloth: Dip a soft cloth or sponge into the solution and wring out excess water to avoid over-wetting the wood.
You may also read (home ac unit really need freon).
Cleaning Process
- Gently wipe down the sticky areas using circular motions. This helps lift grease and grime without damaging the finish.
- Let the cleaning solution sit on stubborn spots for 5-10 minutes to break down the residue.
- Use a damp cloth to wipe away the loosened stickiness, then follow with a dry cloth to remove excess moisture.
Tackling Stubborn Stickiness
- Baking Soda Paste: Create a paste by mixing equal parts baking soda and water.
- Apply the paste to sticky spots and let it sit for a few minutes.
- Gently scrub with a soft-bristled brush or cloth to lift the residue.
- White Vinegar: To grease the area, dampen a microfiber cloth with undiluted white vinegar and wipe down the affected areas. Vinegar cuts through grease effectively and is safe for most cabinet finishes.
Removing Adhesive Residue
- Use a hairdryer to warm the adhesive gently. As the residue softens, scrape it off carefully with a plastic scraper or butter knife.
- Alternatively, apply a paste of baking soda and vegetable oil to the adhesive. Let it sit for a few minutes before wiping it away.
Final Rinse and Drying
- Rinse the cabinets with clean water to remove any remaining cleaning agents.
- Dry thoroughly with a microfiber cloth to prevent water damage or warping.
Natural and DIY Cleaning Tricks for Sticky Cabinets
If you prefer eco-friendly and affordable solutions, try these natural cleaning methods. They’re effective, safe, and gentle on your cabinets.
Baking Soda and Vegetable Oil Paste
- Combine 1 tablespoon of baking soda with 1 tablespoon of vegetable oil to form a paste.
- Apply the paste to sticky areas using a soft cloth, then scrub gently.
- Wipe away the residue with a damp cloth.
White Vinegar Method
- Soak a cloth in undiluted white vinegar and press it onto sticky spots for a few minutes.
- Wipe the area clean with a damp cloth, followed by a dry one.
Benefits of Natural Ingredients:
- Safe for your family and pets.
- Affordable and readily available.
- Effective at cutting through grease and grime.
Caution: Always test natural solutions on a small, inconspicuous area of your cabinet to ensure they don’t damage the finish.
Tips and Precautions for Maintaining Clean and Non-Sticky Cabinets
Once your cabinets are clean, follow these tips to keep them in great shape:
Regular Maintenance:
- Wipe down cabinets weekly with a damp microfiber cloth to prevent buildup.
- Clean up spills and grease splatters immediately to avoid staining.
Avoid Harsh Products:
- Steer clear of abrasive cleaners and chemicals that can damage the finish.
Keep Cabinets Dry:
- Always dry your cabinets after cleaning to prevent moisture-related issues.
Use Protective Measures:
- Apply cabinet liners or a protective wax coating to reduce stickiness.
Control Humidity:
- Use a dehumidifier or ensure proper ventilation in your kitchen to minimize moisture.
When to Seek Professional Help
Sometimes, stickiness may indicate deeper issues like wood damage or worn finishes. Here’s when to call in the experts:
- Signs of Damage: If your cabinets are peeling, warping, or have deeply embedded grime, professional restoration may be needed.
- Refinishing Requirements: If cleaning doesn’t restore the appearance of your cabinets, refinishing them can bring back their original beauty.
Professional cleaners have the tools and expertise to safely clean and restore your cabinets without causing further damage.
You may also read (home kitchen sink gurgle when not).