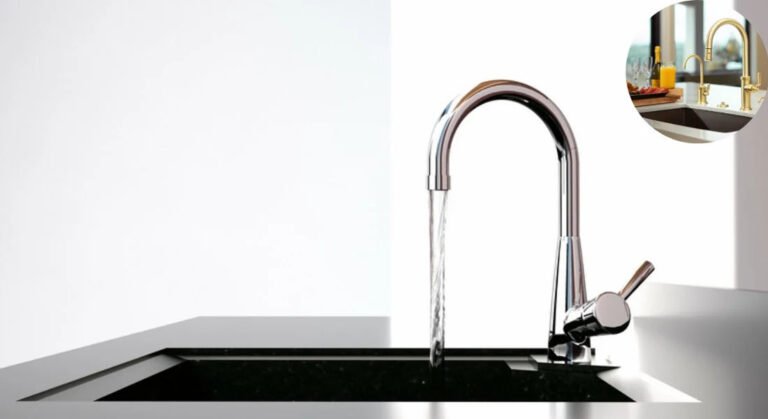
The kitchen faucet is a vital part of every home, playing a crucial role in daily tasks such as cooking, cleaning, and washing dishes. It’s not just a functional tool but also a design element that enhances the overall look of your kitchen. However, when it comes to replacing or installing a new kitchen faucet, one question arises: how long does it take to install a home kitchen faucet?
Understanding Kitchen Faucet Installation
Installing a kitchen faucet may seem daunting at first, but understanding the process can make it a much more straightforward task. Let’s break it down step by step.
What Does Kitchen Faucet Installation Involve?
At its core, kitchen faucet installation includes:
- Removing the old faucet, if applicable.
- Preparing the sink area for the new faucet.
- Installing the new faucet and connecting it to your plumbing system.
- Testing for leaks and making final adjustments.
Each of these steps varies in complexity, depending on the type of faucet being installed and the condition of the existing plumbing.
Types of Kitchen Faucets
One crucial factor that influences installation time is the type of faucet being used. Here are the most common ones:
- Single-Handle Faucets: These are typically easy to install, as they require only one hole in the sink or countertop.
- Double-Handle Faucets: These take a bit longer to install, as they require separate hot and cold water connections.
- Pull-Down Faucets: Popular for their flexibility, but they may require additional steps, such as attaching the pull-down spray hose.
- Wall-Mounted Faucets: These can be the trickiest to install, as they require plumbing modifications and access to the wall.
Replacing an Old Faucet vs. Installing a New One
- Replacing an old faucet: This is generally faster since the plumbing is already in place. On average, it takes 30 minutes to 1 hour for a professional to complete.
- Installing a new faucet from scratch can take significantly longer, especially if additional plumbing work is required. For example, adding new holes to the sink or countertop can dramatically increase the installation time.
How Long Does It Typically Take to Install a Kitchen Faucet?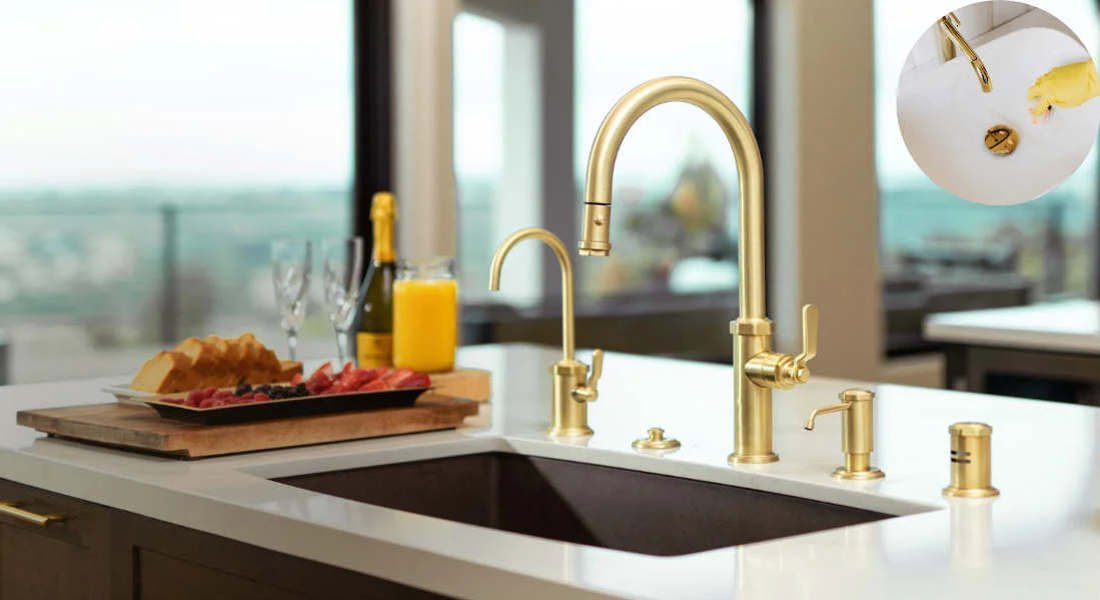
The time it takes to install a kitchen faucet depends on several factors. Let’s break it down for both DIYers and professionals.
You may also read (how do i get rid of sticky floors at home).
Professional Installation Time
A professional plumber can usually replace a simple kitchen faucet in 30 minutes to an hour. For more complex installations, such as wall-mounted faucets or scenarios involving outdated plumbing, the job could take up to 2-3 hours.
DIY Installation Time
For DIY enthusiasts, the time varies considerably based on experience:
- Beginners: Expect to spend anywhere from 2 to 6 hours on the project, especially if you’re unfamiliar with plumbing or encounter unexpected challenges.
- Experienced DIYers: With the right tools and preparation, you can finish the job in as little as 1-2 hours.
Factors That Affect Installation Time
Several factors influence how long it will take to install a kitchen faucet:
- Faucet Type and Configuration: More complex faucets, such as pull-down or wall-mounted options, require longer installation times.
- Condition of Existing Plumbing: If your plumbing is outdated or damaged, you may need to spend extra time fixing issues before installing the faucet.
- Accessibility: Tight spaces under the sink can make the job more challenging and time-consuming.
- Need for Additional Parts: Some installations require escutcheon plates or adapters to fit the faucet properly.
Here’s a quick comparison table for reference:
Installation TypeProfessional TimeDIY Time
Replacing a single-handle faucet 30-60 minutes 1-2 hours
Installing a pull-down faucet 1-2 hours 3-5 hours
Wall-mounted faucet 2-3 hours 6+ hours
Step-by-Step Guide to Installing Your Kitchen Faucet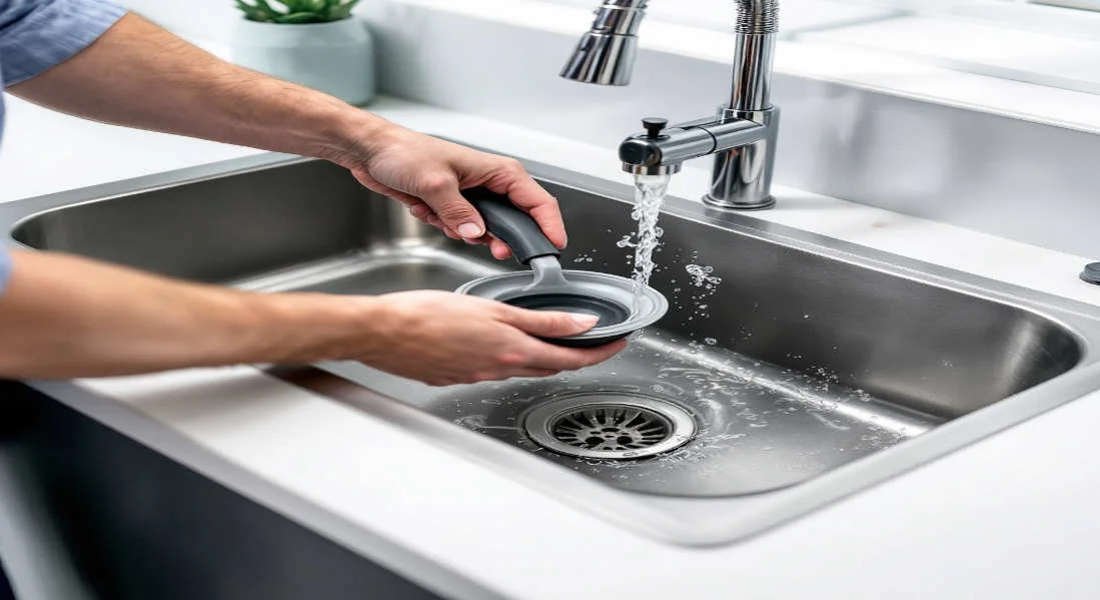
Ready to roll up your sleeves? Here’s a detailed guide to help you install your kitchen faucet efficiently.
Preparation
- Clear the Space: Remove all items from under the sink to create a workable area.
- Shut Off the Water Supply: Locate the water valves under the sink and turn them off.
- Gather Tools and Materials:
- Wrenches (adjustable or basin wrench)
- Screwdriver
- Plumber’s tape
- Bucket or towel (to catch water spills)
Remove the Old Faucet
- Disconnect the water supply lines using a wrench.
- Loosen the nuts holding the faucet in place. If they’re stuck, apply penetrating oil to loosen them.
- Carefully lift out the old faucet.
Clean and Prepare the Sink Area
- Remove any old sealant or debris from the sinkholes.
- Check the mounting area to ensure it’s clean and ready for the new faucet.
Install the New Faucet
- Position the faucet in the sinkholes.
- Secure it by tightening the mounting nuts underneath the sink.
- Connect the water supply lines to the faucet.
Test for Leaks and Make Final Adjustments
- Turn the water supply back on and check for leaks.
- Tighten any loose connections and adjust the faucet to ensure proper alignment.
DIY vs Professional Installation: What You Need to Know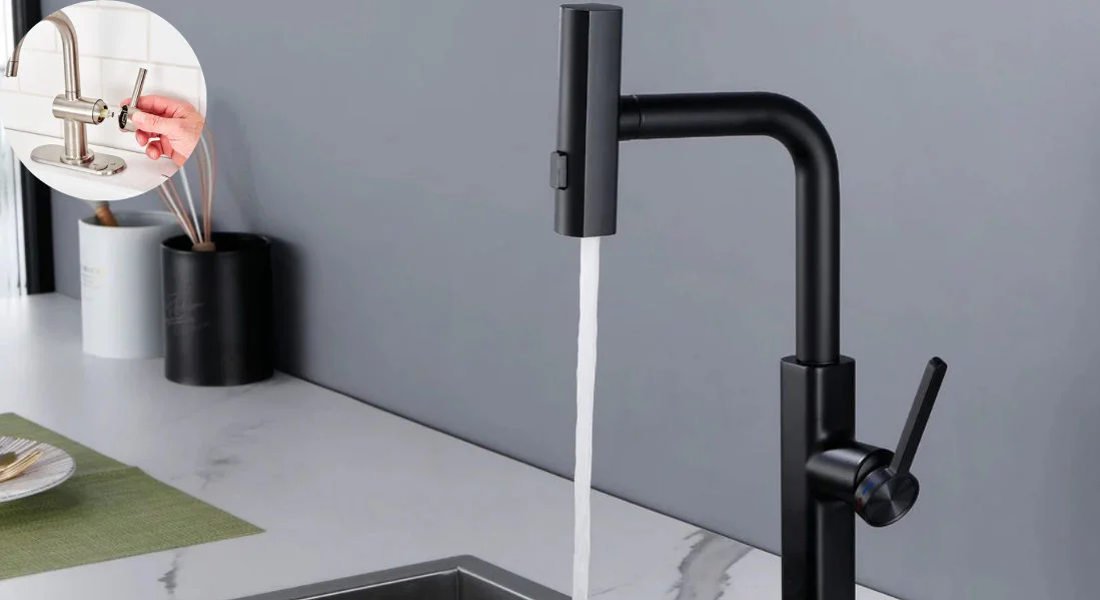
DIY Installation: Pros and Cons
Pros:
- Cost savings (no labor charges).
- Satisfaction of completing the job yourself.
Cons:
- It is time-consuming for beginners.
- Risk of mistakes, which could lead to leaks or damage.
When to Hire a Professional
- If you’re dealing with complex installations, such as wall-mounted faucets.
- If modifications to your plumbing system are required.
- To save time and ensure perfect results.
Tools and Materials Needed for Faucet Installation
Here’s a checklist of essentials:
Tools
- Adjustable wrench
- Basin wrench
- Screwdriver
- Plumber’s tape
- Penetrating oil
Materials
- New faucet
- Escutcheon plate (if needed)
- Sealant
Optional tools include a flashlight (for better visibility) and a bucket (to catch water spills).
Common Problems and How to Avoid Them
Even with the best preparation, you might encounter a few challenges. Here’s how to handle them:
- Stuck Nuts: Use penetrating oil to loosen rusted or stuck nuts.
- Leaks After Installation: Double-check all connections and add the plumber’s tape if necessary.
- Incorrect Fit: Measure your sinkholes before purchasing a faucet to avoid compatibility issues.
Additional Tips for a Smooth Installation
- Read the manufacturer’s instructions carefully.
- Watch tutorial videos for visual guidance.
- Take breaks if needed, especially for long installations.
- Keep a professional plumber’s contact handy for emergencies.
You may also read (essential permits for your home kitchen remodel).
