
Serrated knives are a staple in almost every kitchen. These uniquely designed blades are best known for their ability to slice through crusty bread, delicate tomatoes, and tough-skinned fruits with ease. However, there is a common misconception that serrated knives never need sharpening. This isn’t true—like any other knife, serrated knives lose their edge over time and require maintenance to perform at their best.
Understanding Serrated Knives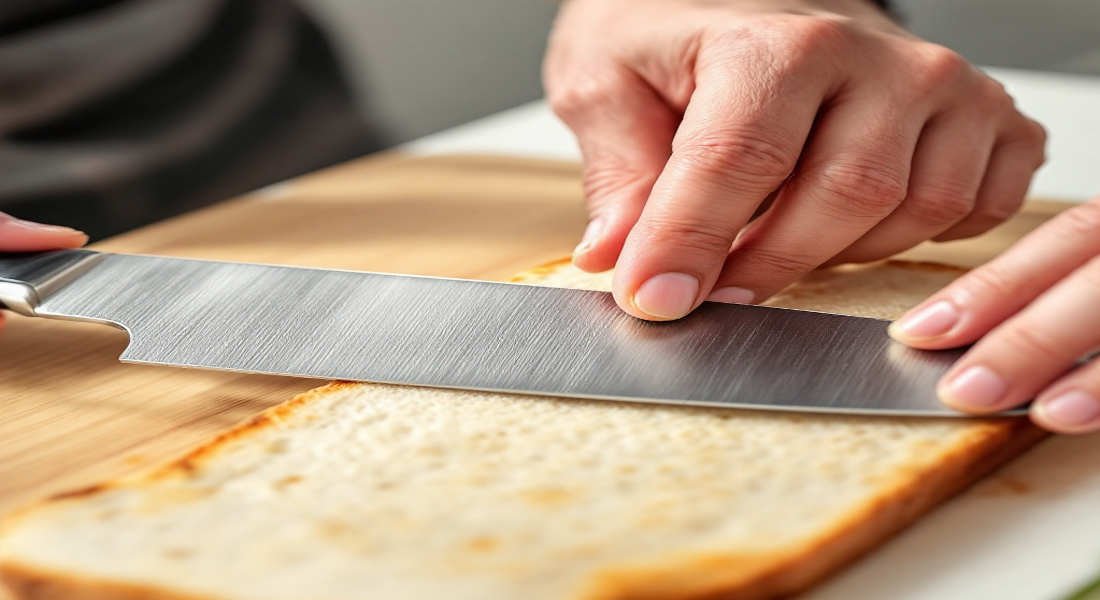
To properly sharpen a serrated knife, it’s essential to first understand what makes these blades unique and why they require special attention.
What Is a Serrated Knife?
A serrated knife is easily recognisable by its saw-like edge, which features a series of small, pointed teeth along the blade. These teeth are what make serrated knives ideal for slicing through foods with tough exteriors and soft interiors, such as bread or tomatoes. Unlike straight-edged knives, serrated blades rely on these teeth to grip and cut through food with minimal effort.
Why Serrated Knives Stay Sharp Longer (But Still Need Sharpening)
Serrated knives are often touted for their durability, and for good reason. The design of the blade ensures that the tips of the teeth bear most of the wear and tear during cutting, while the recessed areas (called gullets) remain sharper for longer. However, over time:
- The teeth can dull, reducing the knife’s cutting efficiency.
- Frequent use can cause the blade to lose its precision, making it harder to achieve clean, smooth cuts.
In short, while serrated knives stay sharp longer than straight-edged blades, they aren’t immune to dulling and require occasional sharpening.
Common Types of Serrated Knives in Home Kitchens
Serrated knives come in various shapes and sizes, each designed for specific tasks. Here are some of the most common types you’ll find in home kitchens:
- Bread knives: Long and serrated, perfect for slicing through crusty bread.
- Tomato knives: Smaller with fine serrations, ideal for cutting delicate fruits.
- Steak knives: Often smaller and serrated, designed for cutting cooked meats.
- Utility knives: Medium-sized, multipurpose serrated knives for various tasks.
Each type of serrated knife may require a slightly different approach to sharpening, depending on the size and shape of its serrations.
Tools Needed to Sharpen a Serrated Knife at Home
Sharpening a serrated knife requires specialised tools that can reach into the grooves of the blade without damaging the teeth. Let’s take a closer look at the most common tools you can use.
You may also read (understanding home kitchen faucet thread).
Tapered Sharpening Rods
These tools, often made of ceramic or diamond-coated material, are the most effective for sharpening serrated knives. They are tapered to fit into the serrations of varying sizes, making them highly versatile.
Ceramic Honing Rods
These rods are perfect for light sharpening or realigning the edge of a serrated knife. They’re less aggressive than diamond rods but still effective for routine maintenance.
Diamond Sharpening Rods
Diamond rods are more abrasive and are used for heavily dulled serrated knives. They remove material from the blade, restoring sharpness to the teeth and gullets.
Manual Sharpening Tools
Some manual sharpeners come with slots specifically designed for serrated knives. While convenient, these tools may not be suitable for all serration patterns and sizes.
Electric Knife Sharpeners
Certain electric sharpeners are equipped with settings for serrated knives. These can save time but may not provide the precision of a sharpening rod.
Sharpening Stones
Flat sharpening stones are ideal for hybrid blades that combine serrated and straight edges. However, they aren’t suitable for sharpening the serrations themselves.
Comparison Table of Sharpening Tools
Tool Ease of Use Effectiveness Best For
Tapered Sharpening Rod Moderate High All serrated knives
Ceramic Honing Rod Easy Medium Light maintenance
Diamond Sharpening Rod Moderate High Dull or heavily used serrated knives
Manual Sharpening Tools : Easy , Low to Medium , Small serrations
Electric Knife Sharpeners : Easy , Medium , Quick sharpening
Sharpening Stones Difficult, Low, Straight edges on hybrid blades
Step-by-Step Guide: How to Sharpen a Serrated Home Kitchen Knife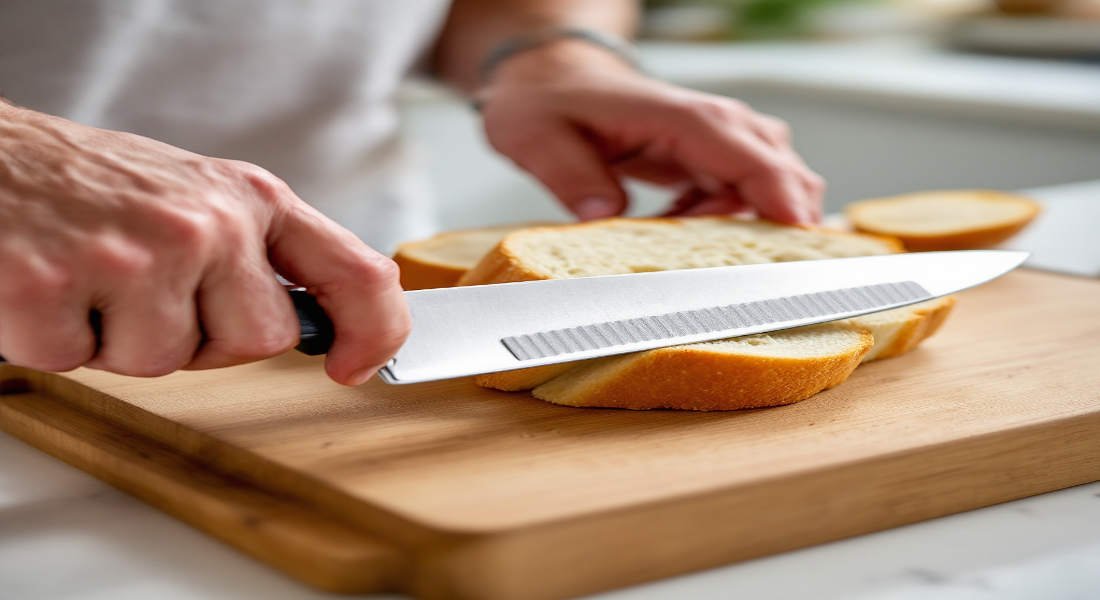
Now that you know the tools available, let’s dive into the process of sharpening a serrated knife. Follow these steps carefully to ensure the best results.
Preparation
- Set up your workspace: Find a stable, well-lit surface to work on. Lay down a towel to keep the knife and tools in place.
- Inspect your knife: Look for signs of wear, such as dull teeth or damaged serrations. Assess whether light honing or deep sharpening is needed.
- Safety first: Wear cut-resistant gloves if necessary and handle the knife with care.
Sharpening with a Tapered Rod (Recommended Method)
- Choose the right rod size: Select a rod that matches the size of your knife’s serrations.
- Find the correct angle: Position the rod at an angle of approximately 20 degrees to the blade.
- Sharpen each gullet: Insert the rod into each gullet and move it back and forth gently. Use light pressure to avoid damaging the teeth.
- Work patiently: Repeat the process for every serration, ensuring even sharpening across the blade.
- Test the sharpness: Carefully run your finger along the edge (away from the teeth) to check for improvements.
Alternative Methods
- Ceramic Honing Rod: Ideal for quick touch-ups. Use the same technique as with the tapered rod, but apply less pressure.
- Diamond Sharpening Rod: For dull blades, apply slightly more pressure to remove material and restore sharpness.
- Manual Sharpeners: Insert the blade into the serrated slot and follow the manufacturer’s instructions.
- Electric Sharpeners: Use only if the machine has a serrated setting. Be cautious, as these tools can over-sharpen or damage the blade.
Removing the Burr
After sharpening, a burr (a small metal ridge) may form on the flat side of the blade. To remove it:
- Use a leather strop or denim: Gently run the flat side of the blade across a strop or denim to smooth the edge.
- Hone the flat side: Use a sharpening stone or rod to lightly polish the blade.
Maintenance Tips
- Clean your knife thoroughly after sharpening to remove metal particles.
- Store your knife properly to prevent damage to the blade.
Common Mistakes to Avoid When Sharpening Serrated Knives
Sharpening a serrated knife can be tricky, especially if you’re new to the process. Here are some common mistakes to watch out for:
- Sharpening the flat side instead of the serrated side.
- Using the wrong angle or applying too much pressure.
- Over-sharpening can damage the knife’s teeth.
- Neglecting burr removal, leading to rough edges.
- Using inappropriate tools that don’t fit the serrations.
How Often Should You Sharpen Your Serrated Kitchen Knife?
The frequency of sharpening depends on several factors, including:
- Usage: Daily use requires more frequent maintenance.
- Knife quality: High-quality knives hold their edge longer.
- Food types: Cutting harder foods will dull the blade faster.
Benefits of Sharpening Serrated Knives at Home
- Cost savings: Avoiding professional sharpening fees.
- Convenience: Maintain your knives whenever needed.
- Extended lifespan: Proper care prevents premature wear.
- Improved performance: Sharp knives are safer and more efficient.
When to Seek Professional Sharpening Services
If your knife has severe damage or complex serrations, it’s best to consult a professional. Look for experienced sharpeners and compare costs to ensure quality service.
You may also read (painting home kitchen cabinets).