
Kitchen cabinet painting is one of the most popular home improvement projects for homeowners looking to refresh their kitchens without breaking the bank. It’s a cost-effective way to breathe new life into your space, making your cabinets look brand new. But when it comes to painting your kitchen cabinets, there’s one common question homeowners often ask: “When painting home kitchen cabinets, do you paint the inside before the white?”
Understanding Kitchen Cabinet Painting Basics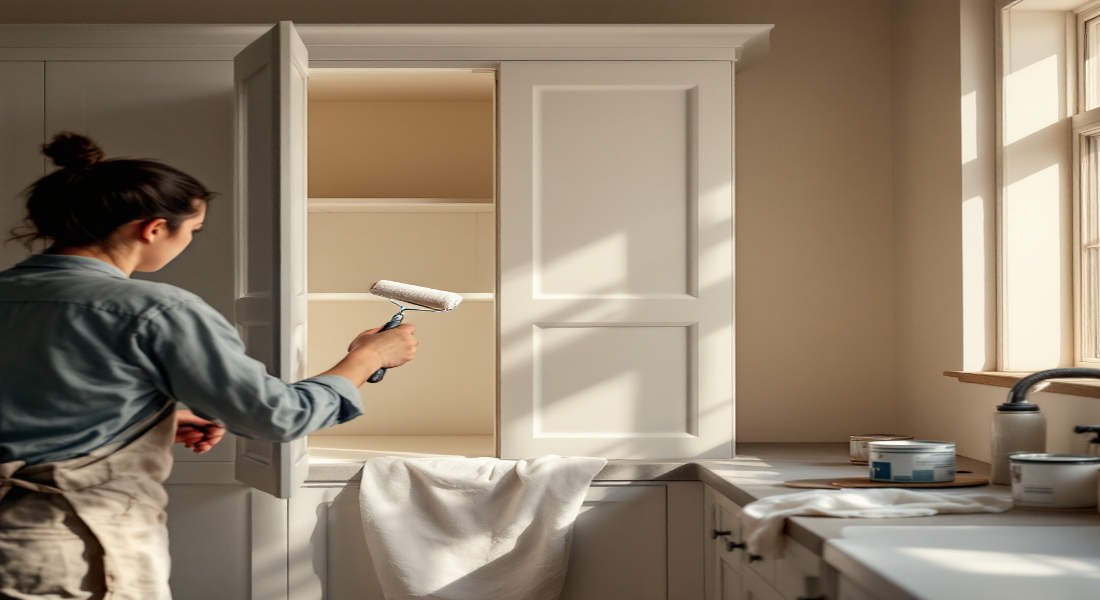
Painting kitchen cabinets is more than just slapping on a coat of paint—it’s a meticulous process that requires proper preparation, the right materials, and attention to detail. Before diving into whether to paint the inside first, let’s break down the fundamentals of cabinet painting.
What Does Cabinet Painting Involve?
Painting kitchen cabinets involves refinishing their surfaces to improve both their appearance and durability. Cabinets consist of several parts, such as:
- Cabinet frames: The stationary structure attached to the wall.
- Doors and drawers: The movable parts that need to be detached for painting.
- Interior surfaces: The inside of the cabinet where items are stored.
Each surface requires specific preparation and techniques to ensure a smooth, long-lasting finish.
Why Paint the Inside of Cabinets?
Some homeowners choose to skip painting the inside of cabinets. However, painting the interior surfaces has several advantages:
- Aesthetic appeal: Painted interiors look cleaner and more cohesive.
- Protection: A coat of paint helps protect the inside surfaces from moisture, spills, and wear.
- Uniformity: When you open your cabinets, a painted interior complements the exterior finish.
Choosing the Right Paint for Cabinets
The type of paint you use is critical to achieving a professional finish. Here are the most common paint types for kitchen cabinets:
- Latex Paint: Water-based, easy to clean, and low in fumes, making it a popular choice for interiors.
- Oil-Based Paint: Durable and glossy, but has a stronger odour and longer drying time.
- Enamel Paint: Offers a smooth, hard finish, ideal for high-traffic areas like cabinets.
Latex and enamel paints are often preferred when painting the inside of cabinets due to their ease of application and quick drying times.
Should You Paint the Inside Before Painting the Outside White?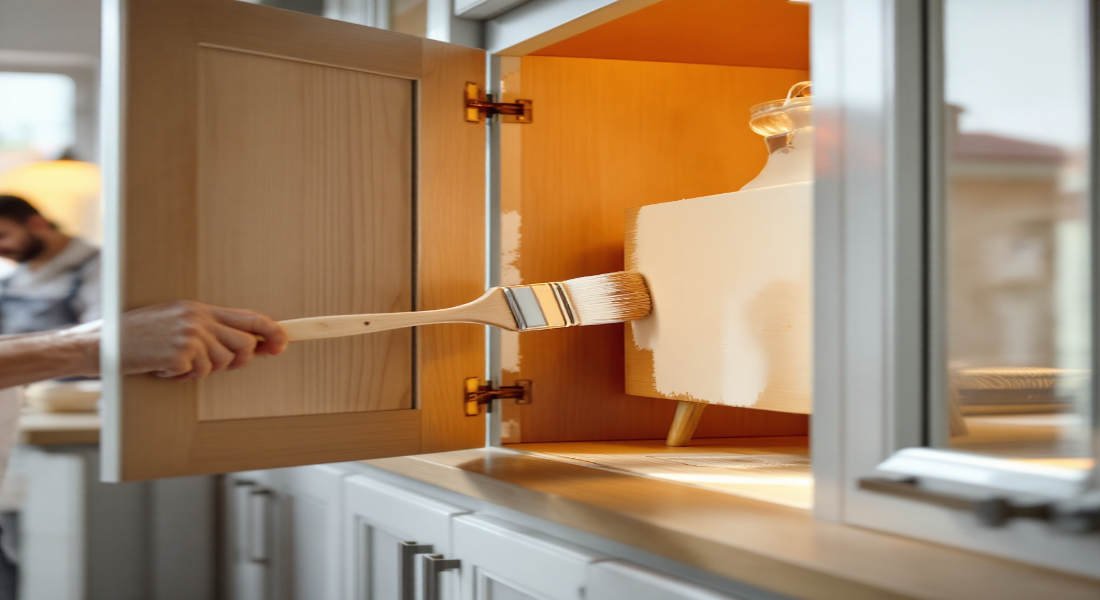
Now we come to the main question: When painting home kitchen cabinets, do you paint the inside before the white? The answer depends on your specific needs and preferences, but there are several reasons why painting the inside first is often recommended.
You may also read (blocked drains in your home).
Advantages of Painting the Inside First
Painting the inside of your cabinets before the outside white comes with several benefits:
- Clean Edges and Drip Control: By starting with the inside, you can avoid accidental drips or paint splatters on the freshly painted exterior.
- Easier to Handle: Painting the interior first allows you to focus on detailed work without worrying about damaging the external finish.
- Better Drying Management: Since the interior takes longer to dry, starting with it gives you more time to let it cure properly before moving on to the exterior.
When to Paint the Outside First
While painting the inside first is often the best approach, there are some instances where painting the outside first may make sense:
- Single Colour Cabinets: If you’re using the same colour for both the interior and exterior, painting the outside first might be more efficient.
- Minimal Interior Exposure: For cabinets with doors that rarely get opened, painting the outside first may save time.
Step-by-Step Process
Here’s a step-by-step breakdown of the order to follow when painting your cabinets:
- Remove the Doors and Drawers: Detach all cabinet doors and drawers to make painting easier.
- Clean All Surfaces: Use a degreaser or warm soapy water to remove dirt, grease, and grime.
- Sand the Surfaces: Lightly sand the interior and exterior to create a smooth surface for the paint to adhere to.
- Prime the Interior: Apply a coat of primer inside the cabinets, ensuring even coverage in corners and edges.
- Paint the Inside: Use a small brush or roller to paint the interior surfaces. Let them dry thoroughly before moving on to the next step.
- Prime and Paint the Exterior: Once the inside is dry, repeat the process for the exterior surfaces.
By following this order, you can achieve a professional-looking finish without the risk of smudges or mistakes.
Step-by-Step Guide to Painting Kitchen Cabinet Interiors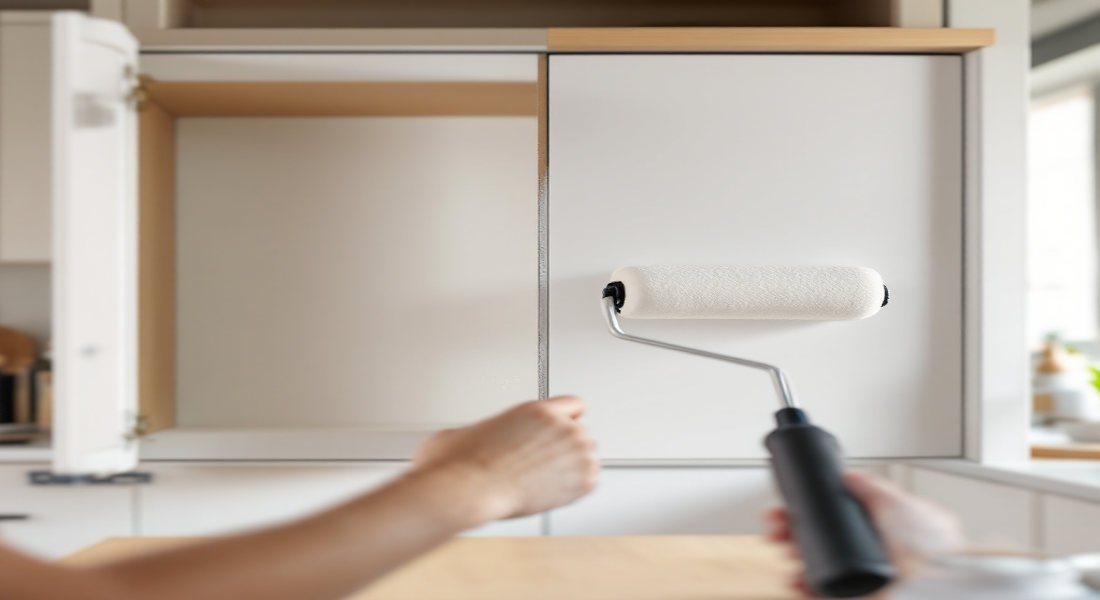
Painting the inside of your cabinets requires attention to detail and the right tools. Below is a detailed guide to help you get it done like a pro.
Preparation Steps
- Empty the Cabinets: Remove all items from the cabinets to ensure a clean workspace.
- Clean Thoroughly: Use a degreaser to clean the surfaces and let them dry completely.
- Protect Surrounding Areas: Use painter’s tape to protect edges and cover countertops or floors with drop cloths.
- Sand the Interior: Lightly sand the surfaces to remove any gloss and ensure adhesion.
Recommended Tools and Materials
- Primer suitable for cabinets
- Latex or enamel paint
- Small rollers and angled brushes
- Painter’s tape and drop cloths
- Sandpaper (medium and fine grit)
Painting Techniques
- Start with the Corners: Use an angled brush to paint the corners and edges first.
- Apply Thin Coats: Thin coats prevent drips and ensure an even finish.
- Roll the Flat Surfaces: Use a small roller for even application on flat areas inside the cabinets.
Painting the Outside White: Best Practices
White is one of the most popular colours for kitchen cabinets because of its timeless look and ability to brighten up any space. However, painting the outside white requires specific techniques to achieve a flawless finish.
Preparation Tips
- Clean and Sand: As with the interior, cleaning and sanding the exterior surfaces is essential.
- Prime the Surface: Use a primer to create a solid base to adhere to for the white paint.
- Choose the Right White Shade: Consider the undertones of your white paint (cool vs. warm) to match the overall kitchen design.
You may also read (do house kitchen sinks come with drains included).
Painting Techniques
- Start with the Frames: Paint the cabinet frames before moving on to the doors and drawers.
- Use Long, Even Strokes: This ensures a smooth, streak-free finish.
- Avoid Overlapping Paint: Let the inside paint dry completely before painting the edges where the interior and exterior meet.
Common Challenges and How to Overcome Them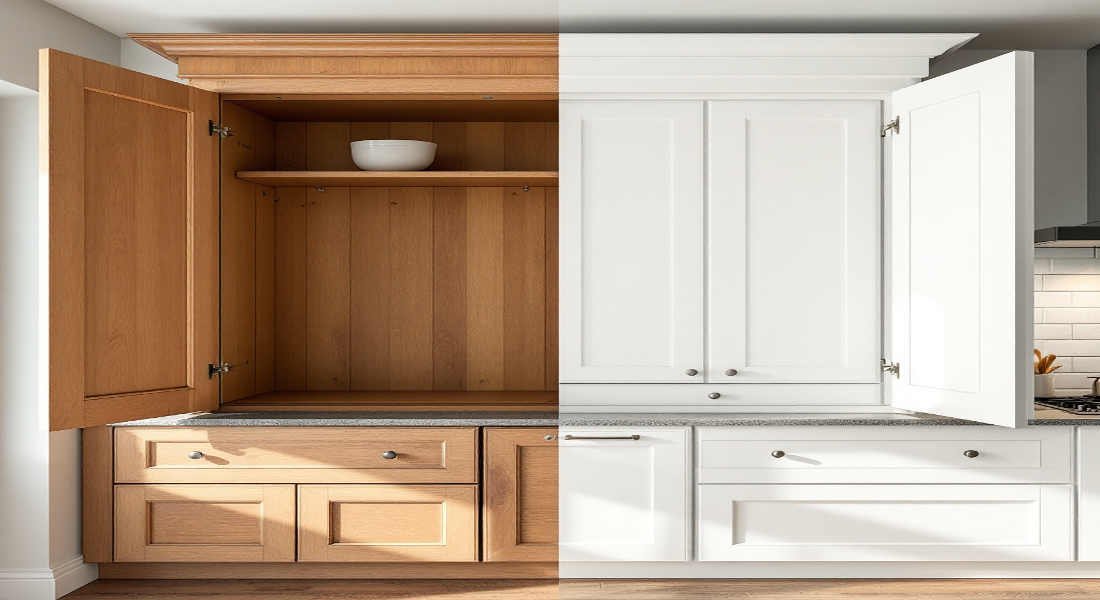
Painting kitchen cabinets can be tricky, but knowing how to tackle common issues can save you time and frustration.
Common Issues
- Paint Dripping: This occurs when too much paint is applied at once.
- Uneven Coverage: Skipping primer or not applying enough coats can lead to patchy coverage.
- Tight Spaces: Corners and edges inside the cabinets can be hard to reach.
Solutions
- Use thin, even coats to avoid drips.
- Always apply primer before painting.
- Invest in high-quality angled brushes for tight spaces.
Additional Tips for a Professional Finish
To achieve a truly professional finish, consider the following tips:
- Ventilation Matters: Ensure proper airflow to speed up drying times and reduce fumes.
- Use Painter’s Tape: This helps create clean, sharp edges between painted and unpainted areas.
- Choose the Right Tools: High-quality brushes and rollers make a noticeable difference in the final result.
You may also read (tighten my home kitchen faucet).