
Resurfacing your kitchen sink can feel like a daunting task—but with the right tools, guidance, and preparation, it’s a surprisingly achievable DIY project. Whether your sink has seen better days due to stains, scratches, or dullness, resurfacing is a cost-effective and rewarding solution to restore its beauty and functionality.
What Does It Mean to Resurface a Kitchen Sink?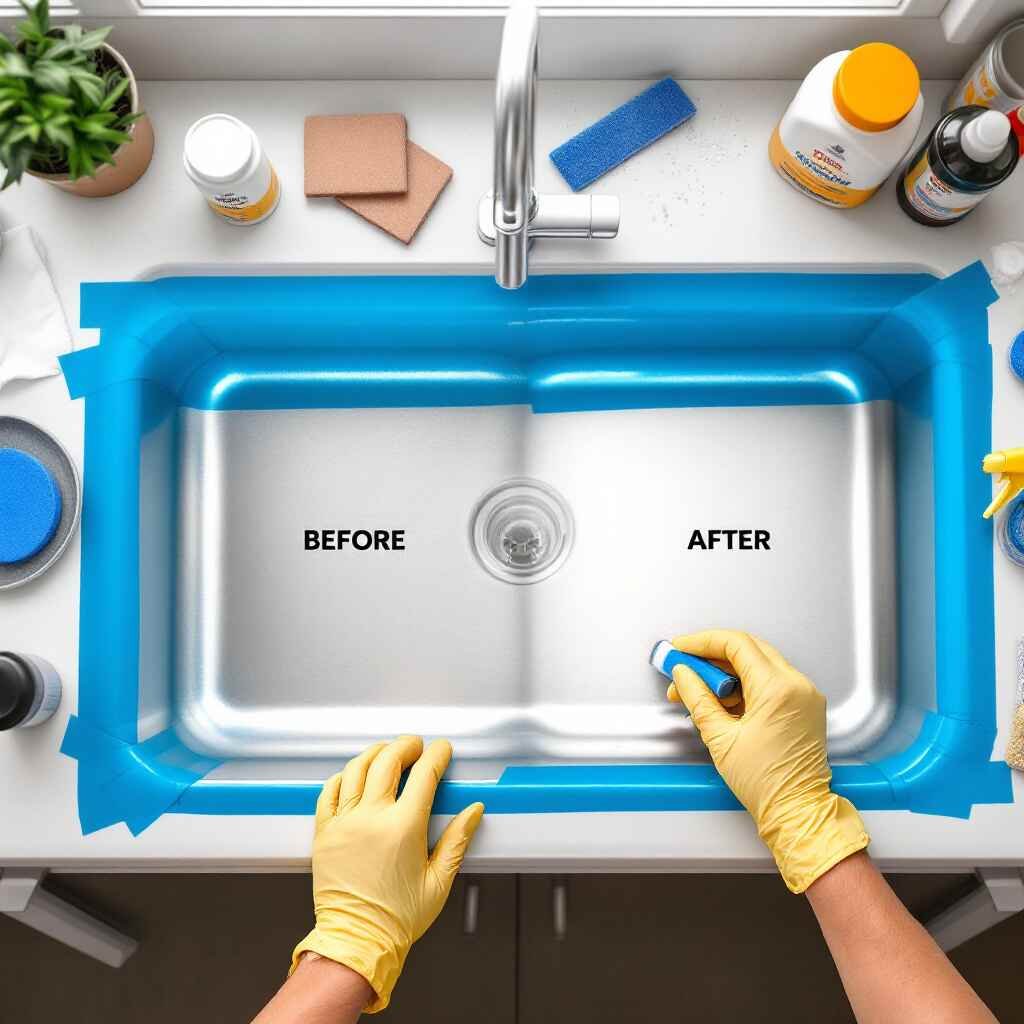
Resurfacing your kitchen sink involves restoring its outer layer or coating to improve its appearance and durability. It’s a practical alternative to replacing your sink, which can be costly and time-intensive. Below, we’ll break down the differences between resurfacing, replacing, and cleaning your sink to help you understand this process better.
Resurfacing vs. Replacing vs. Deep Cleaning
- Resurfacing involves repairing damage (like chips or scratches), sanding down the surface, and applying a new finish to restore shine and durability. It’s ideal for sinks with moderate wear and tear.
- Replacing: Completely removing the old sink and installing a new one. This is necessary when the sink is severely damaged, or you want to upgrade to a different style or material.
- Deep Cleaning: A thorough cleaning to remove grime, stains, or buildup. While this can temporarily improve your sink’s appearance, it won’t fix underlying damage like cracks or discoloration.
Types of Sinks That Can Be Resurfaced
Not all sinks are created equal, and some materials are easier to resurface than others. Here are the most common types of sinks that are suitable for resurfacing:
- Stainless steel sinks: Durable and popular, these sinks can be polished to remove scratches and restore shine.
- Porcelain sinks: Porcelain-coated sinks can be reglazed to hide chips and discoloration.
- Composite sinks: Made from materials like quartz or granite, these can also be resurfaced with special refinishing kits.
Benefits of Resurfacing
Why should you consider resurfacing your sink? Here are some compelling reasons:
- Cost savings: Resurfacing is much cheaper than replacing a sink, especially as a DIY project.
- Sustainability: By refinishing your sink, you reduce waste and extend the life of your existing materials.
- Aesthetics: Resurfacing gives your sink a brand-new look, enhancing the overall appearance of your kitchen.
Signs Your Kitchen Sink Needs Resurfacing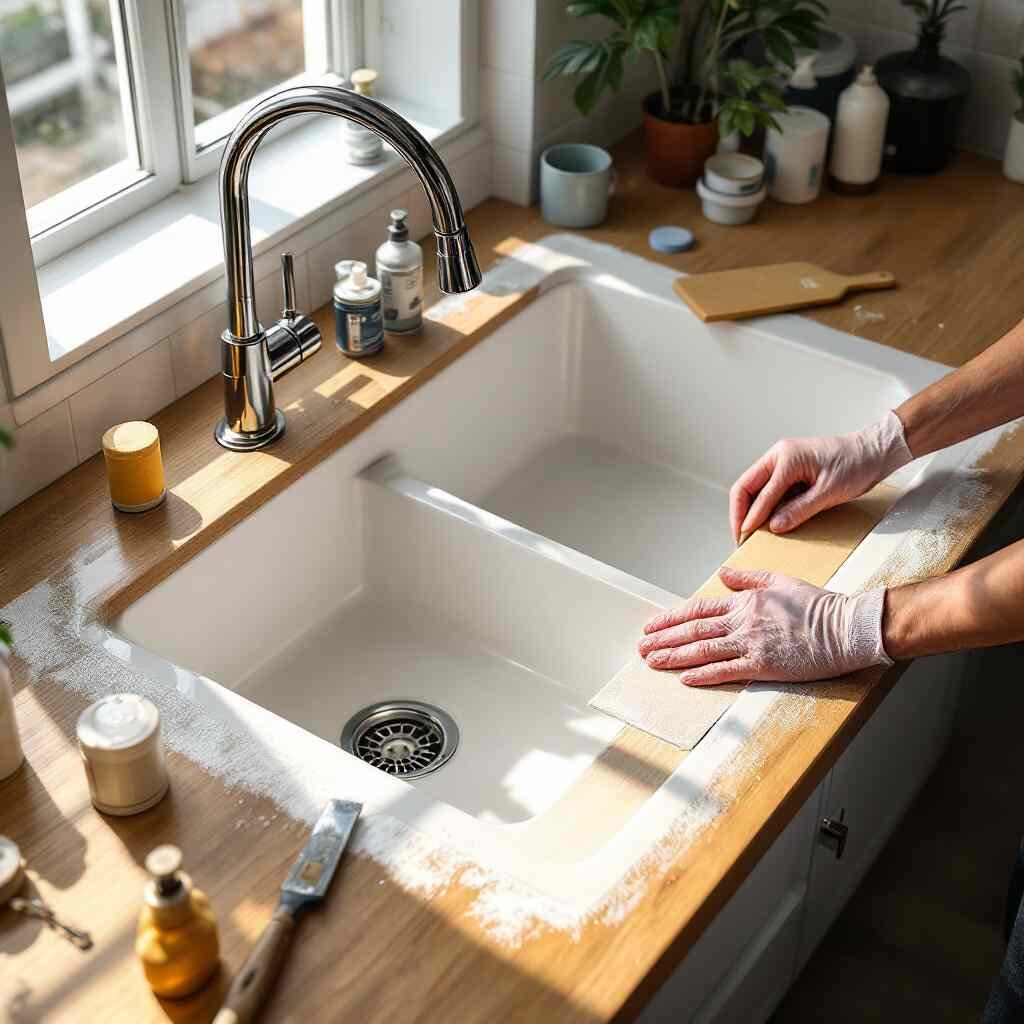
Your sink might look fine, but some telltale signs indicate it’s time for a refresh. Here’s what to watch for:
You may also read (kosher kitchen in your home).
- Visible scratches or chips: Small imperfections on the surface can make your sink look worn and unattractive.
- Stubborn stains or discoloration: Resurfacing might be the solution if cleaning no longer restores your sink’s original color.
- Loss of shine: A dull sink can drag down the look of your entire kitchen.
- Persistent grime or mineral buildup: When regular cleaning fails to remove buildup, it may be time to resurface.
If you’ve noticed these signs, don’t worry—resurfacing can bring your sink back to life!
Can You Resurface Your Kitchen Sink at Home?
Yes, you absolutely can! Resurfacing your sink at home is a doable DIY project, but there are a few factors to consider before diving in.
DIY vs. Professional Resurfacing
- DIY Resurfacing: This option is cost-effective and satisfying for those who enjoy hands-on projects. However, it requires time, patience, and attention to detail.
- Professional Resurfacing: If you’re short on time or dealing with extensive damage, hiring a professional may be worth the cost.
Safety Considerations
Resurfacing involves using chemicals and tools that may pose risks if handled improperly. Always wear safety gear (gloves, goggles, and masks) and work in a well-ventilated area.
When to Consider Replacement
If your sink has severe structural damage (like large cracks or holes), resurfacing may not be enough. In these cases, replacement is the better option.
Tools and Materials Needed for Resurfacing a Kitchen Sink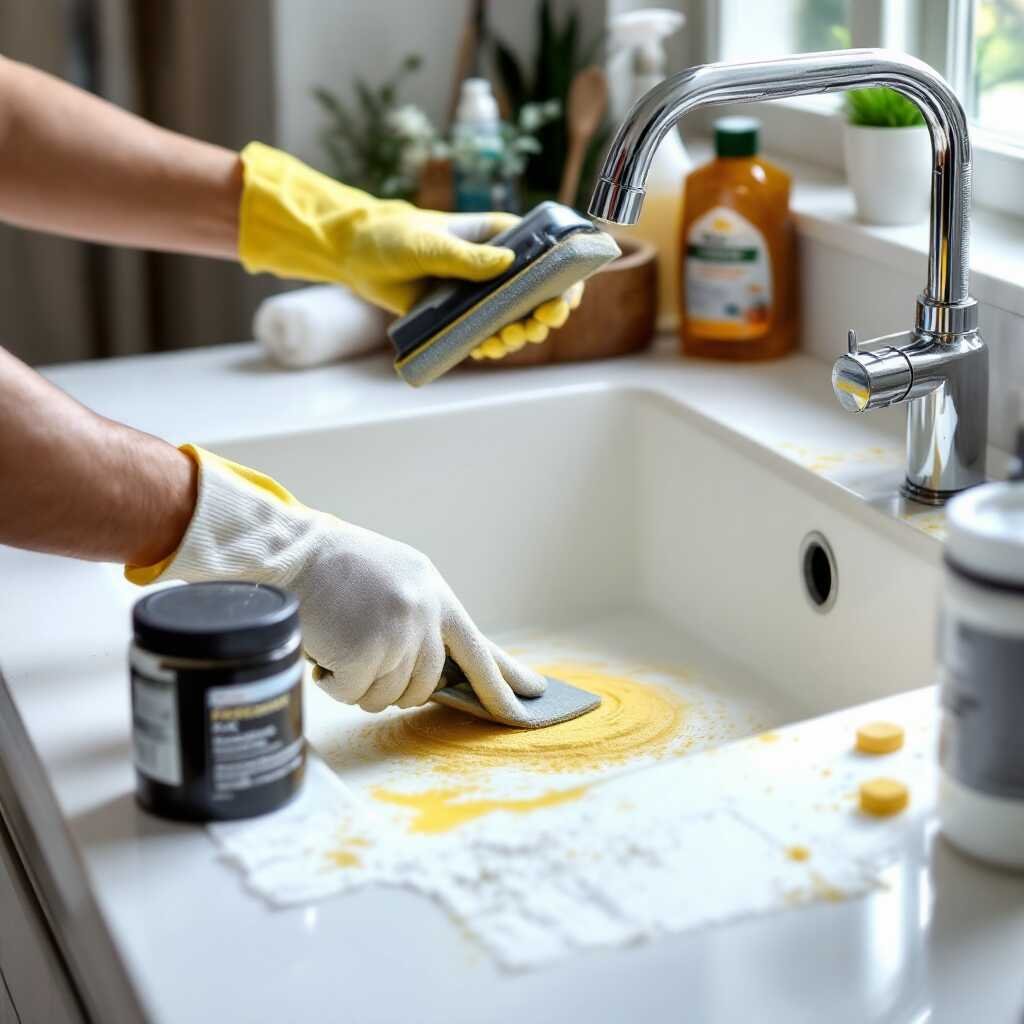
Before you start, gather all the necessary tools and materials to ensure a smooth process.
Essential Tools
Tool/MaterialPurpose
Sandpaper (various grits) Prepares the surface for better adhesion of primer and refinishing products.
Scrub pads: Remove grime and residue during the cleaning phase.
Safety gear Protects against harmful chemicals and dust (gloves, goggles, and masks).
Cleaning agents Degreases and wash the sink thoroughly.
The refinishing kit Provides the coating or glaze needed for resurfacing.
Primer Helps the new finish adhere properly to the sink.
Polish or sealant Adds shine and protects the new surface.
Microfiber cloths Buff the sink for a streak-free finish.
Optional Tools
Consider additional tools like a handheld sander or a spray gun for even coating application for advanced results.
Step-by-Step Guide: How to Resurface House Kitchen Sink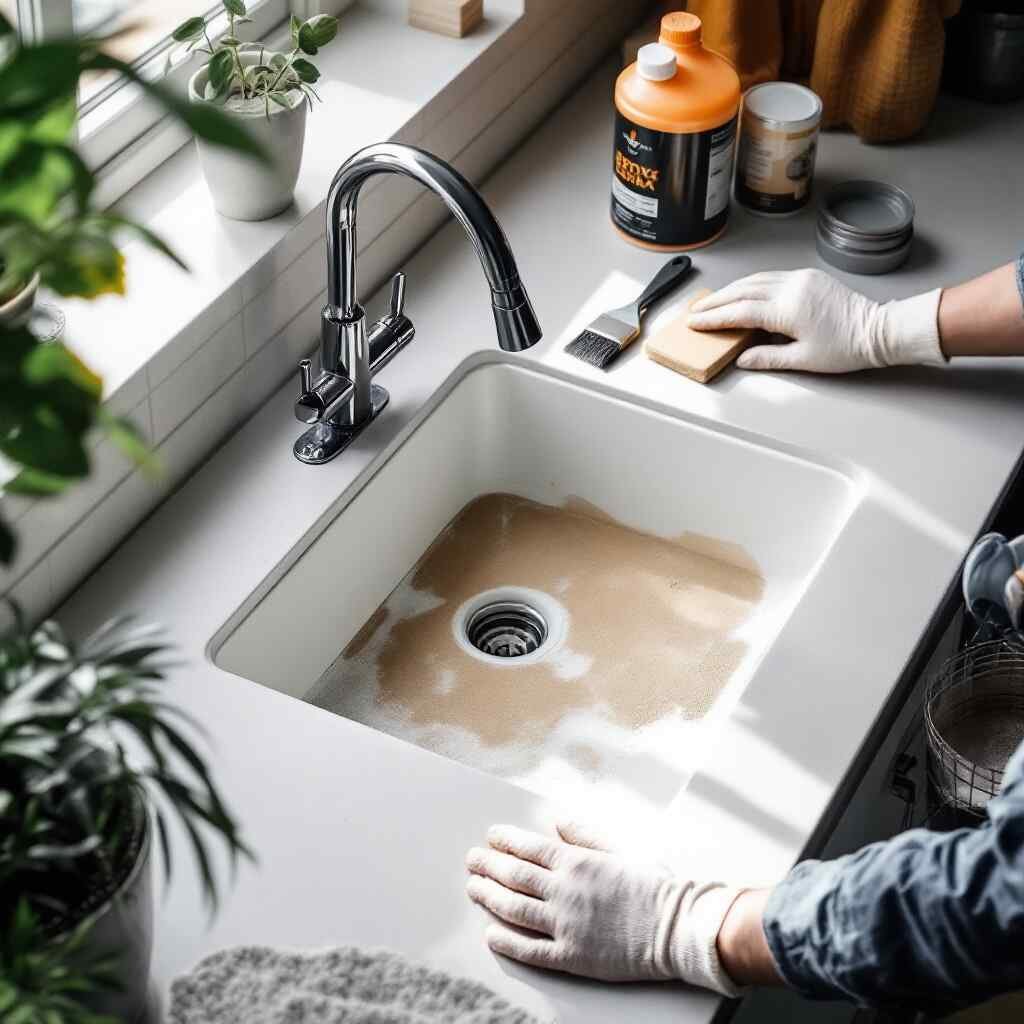
Follow these steps to successfully resurface your kitchen sink:
Preparation
- Clear the sink and surrounding area of any items.
- Turn off the water supply if necessary.
- Remove fixtures, drain covers, and accessories to access the entire sink surface.
Deep Cleaning
- Use a kitchen cleaner and scrub pad to remove grime, grease, and residue.
- Rinse thoroughly and dry with a clean towel.
Repair Minor Damage
- Fill in small chips or cracks using an appropriate filler (porcelain or composite-specific).
- Allow the filler to cure according to the manufacturer’s instructions.
Sanding the Surface
- Sand the sink using the appropriate grit sandpaper:
- Stainless steel: 1000–2000 grit
- Porcelain/Composite: 220–320 grit
- Sand in the direction of the grain for stainless steel or use a circular motion for other materials.
- Wipe away sanding residue with a damp cloth.
Applying Primer (If Required)
- Apply a thin, even layer of primer to the sink surface.
- Allow it to dry completely before moving on.
Applying the Refinishing Product
- Follow the instructions on your refinishing kit (spray-on, brush-on, or roll-on).
- Apply multiple thin coats, allowing adequate drying time between each coat.
Polishing and Finishing Touches
- For stainless steel sinks, use a metal polish cream to restore shine.
- For other materials, apply a topcoat or sealant (if recommended).
- Buff the surface with a microfiber cloth for a flawless finish.
Reinstall Fixtures and Clean Up
- Reattach drain covers and fixtures.
- Wipe down the area and admire your work!
Maintenance Tips to Prolong Your Sink’s New Surface
- Clean your sink daily with mild soap and water.
- Avoid abrasive cleaners or pads that can scratch the surface.
- Use sink mats or grids to protect against heavy pots and pans.
- Address minor scratches or stains immediately to prevent further damage.
Common Mistakes to Avoid
- Skipping the cleaning or sanding steps.
- Using incorrect sandpaper grit.
- Rushing through drying times.
- Applying uneven or overly thick coats.
- Forgetting to wear safety gear.
You may also read (why do you need a spice kitchen)