
If you’ve ever dealt with a clogged kitchen sink, you know how frustrating it can be. It disrupts your daily routine, makes cleaning up after meals a hassle, and often involves costly repairs if left unchecked. That’s where a kitchen sink cleanout comes in.
A cleanout is a critical part of your plumbing system that allows easy access to your drain pipes for cleaning, maintenance and clog removal. Installing a cleanout for your house kitchen sink isn’t just a good idea—it’s a proactive way to ensure your plumbing system stays in tip-top shape.
Understanding Kitchen Sink Cleanouts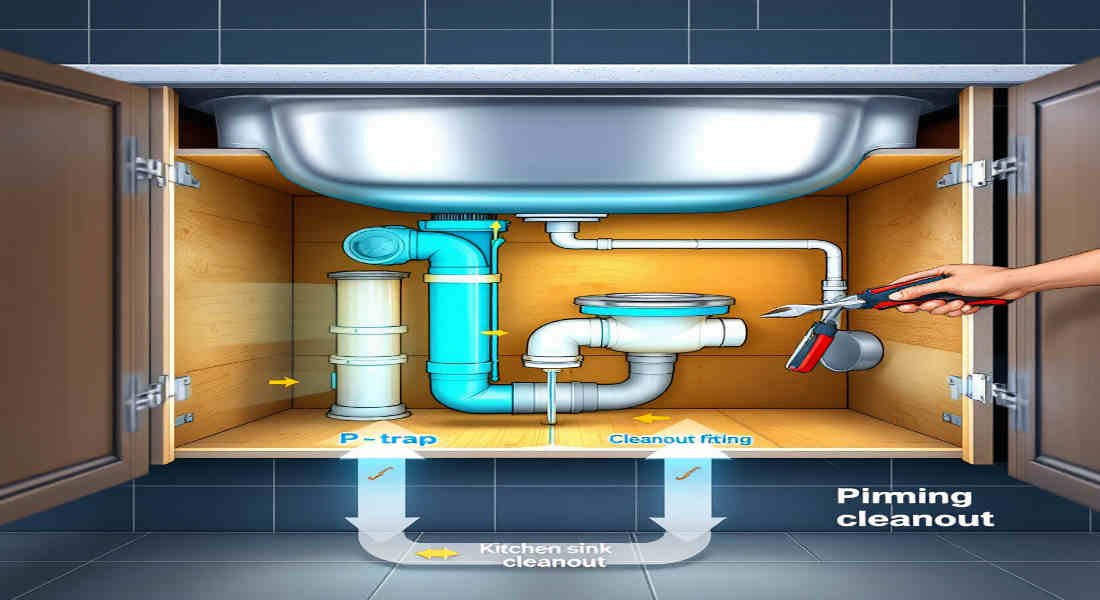
Before jumping into installation, it’s important to understand what a cleanout is and why it’s essential for your kitchen sink.
What is a Cleanout?
A cleanout is a small access point in your plumbing system that allows you to easily reach the interior of your drain pipes. It typically consists of a Y-fitting or T-fitting with a removable plug.
The cleanout serves two primary purposes:
- Prevention of clogs: By providing direct access to your drain pipes, a cleanout makes it easy to remove debris, grease, and buildup that could cause clogs.
- Simplified maintenance: Without a cleanout, clearing a clogged pipe often involves dismantling parts of your plumbing system. A cleanout eliminates that hassle.
Types of Cleanouts for Kitchen Sinks
There are different types of cleanouts used in residential plumbing. Here are the most common ones:
- PVC Cleanouts: Lightweight, durable, and resistant to corrosion, PVC cleanouts are a popular choice for kitchen sink drains.
- ABS Cleanouts: Used in some older plumbing systems, ABS cleanouts are another durable option but are being gradually replaced by PVC.
- Threaded Plugs: These are removable caps that seal the cleanout opening and can be unscrewed when access is needed.
Each type serves the same purpose but may vary in material and design depending on your plumbing system.
Tools and Materials Needed for Installation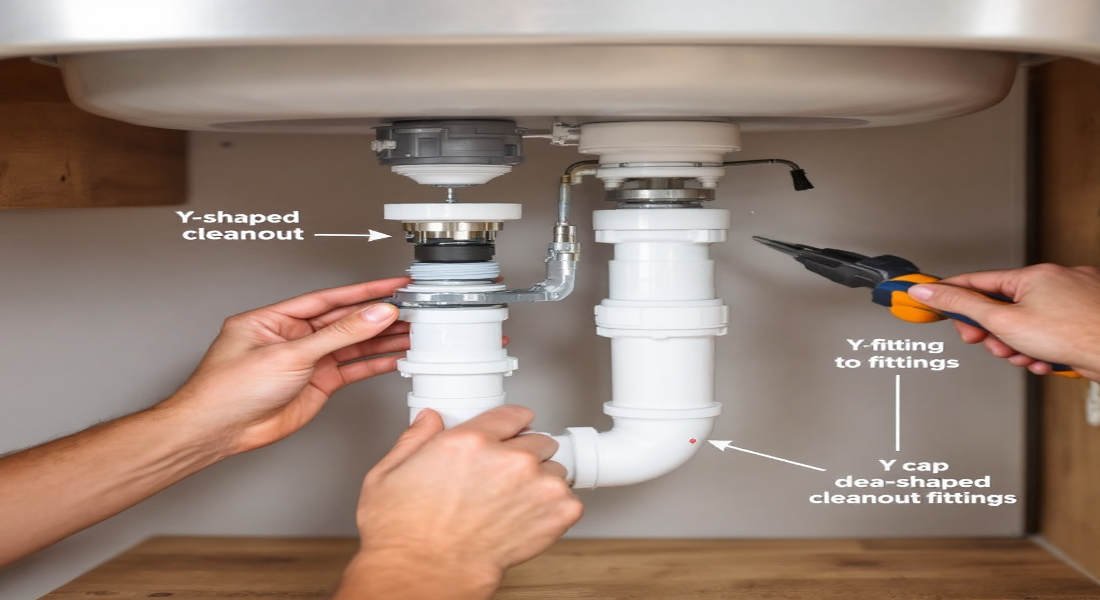
To properly install a cleanout for your house kitchen sink, you’ll need to gather the right tools and materials beforehand. Having everything ready will save you time and ensure a smooth installation process.
You may also read (stickiness from my home kitchen cabinets).
Essential Tools
Here’s a list of tools you’ll need:
- Pipe Cutter: For clean and precise cuts on your drainpipe.
- Wrench: To loosen or tighten plumbing connections.
- Screwdriver: Useful for securing components.
- Deburring Tool or Sandpaper: To smooth the edges of cut pipes.
- Measuring Tape: To mark the correct placement for your cleanout.
- Pipe Dope and Teflon Tape: For creating watertight seals on threaded connections.
Required Materials
You’ll also need the following materials:
- Cleanout Fitting: A Y-fitting or T-fitting with a cleanout plug.
- PVC Glue and Primer: Used to securely join PVC pipes and fittings.
- Trap: If replacing an old trap, a new one may be required.
- Cleanout Plug: Typically threaded for easy removal.
Safety Equipment
Don’t forget to prioritize safety while working on your plumbing system. Wear the following:
- Safety Glasses: To protect your eyes from debris or splashes.
- Gloves: To keep your hands clean and protect against cuts.
Preparing for Installation
Preparation is key to a successful installation. Follow these steps to get your workspace and plumbing system ready:
Locating the Ideal Spot for the Cleanout
The cleanout should be installed on the horizontal drainpipe beneath your kitchen sink, ideally close to the trap. This ensures easy access to the pipe for cleaning and maintenance.
Check Local Plumbing Codes
Before you start, check your local plumbing codes to ensure compliance. Some regions have specific requirements for the placement and type of cleanouts.
Shut Off the Water Supply
Turn off the water supply to your kitchen sink to prevent accidental leaks or spills during the installation. Place a bucket or container under the drain to catch any residual water.
Step-by-Step Guide to Installing a Cleanout for a House Kitchen Sink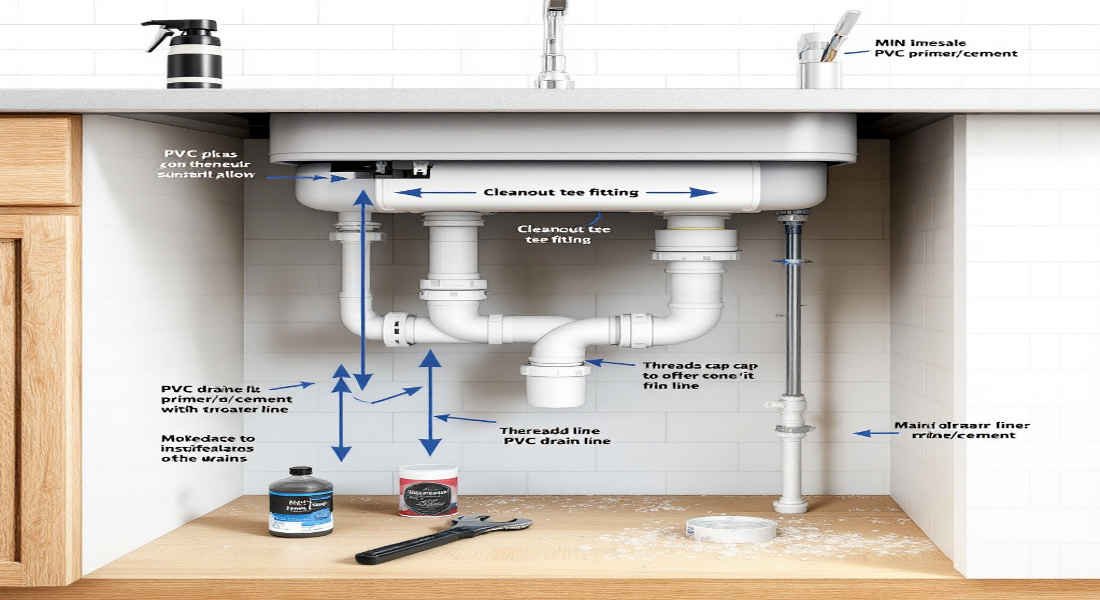
Follow these detailed steps to install your cleanout:
Remove the Existing Trap and Drain Components
- Loosen the slip nuts on the sink trap using a wrench.
- Remove the trap and drain plug carefully, allowing any residual water to drain into your bucket.
- Clean the drainpipe and surrounding area to remove debris or grease.
Cutting and Preparing the Drain Line
- Measure the section of the drainpipe where the cleanout will be installed.
- Mark the pipe with a pencil or marker for precise cutting.
- Use a pipe cutter to make a clean, square cut.
- Remove any rough edges or burrs with a deburring tool or sandpaper to ensure a proper fit.
Installing the Y-Fitting with Cleanout Access
- Test-fit the Y-fitting to ensure it aligns correctly with the existing pipe.
- Apply PVC primer to the pipe ends and the inside of the fitting.
- Add PVC glue to the primed areas and securely attach the fitting.
- Hold the fitting in place for a few seconds to allow the glue to bond.
You may also read (denied home insurance claim).
Attaching the Cleanout Plug
- Wrap Teflon tape around the threads of the cleanout plug.
- Apply pipe dope for an additional seal.
- Screw the cleanout plug into the fitting, ensuring a snug but not overtightened seal.
Reinstalling the Trap and Final Checks
- Reattach the sink trap and tighten all slip nuts.
- Turn on the water supply and check for leaks.
- Test the drainage system by running water through the sink.
- Clean up your workspace and ensure the cleanout is easily accessible.
Tips for Maintaining Your Kitchen Sink Cleanout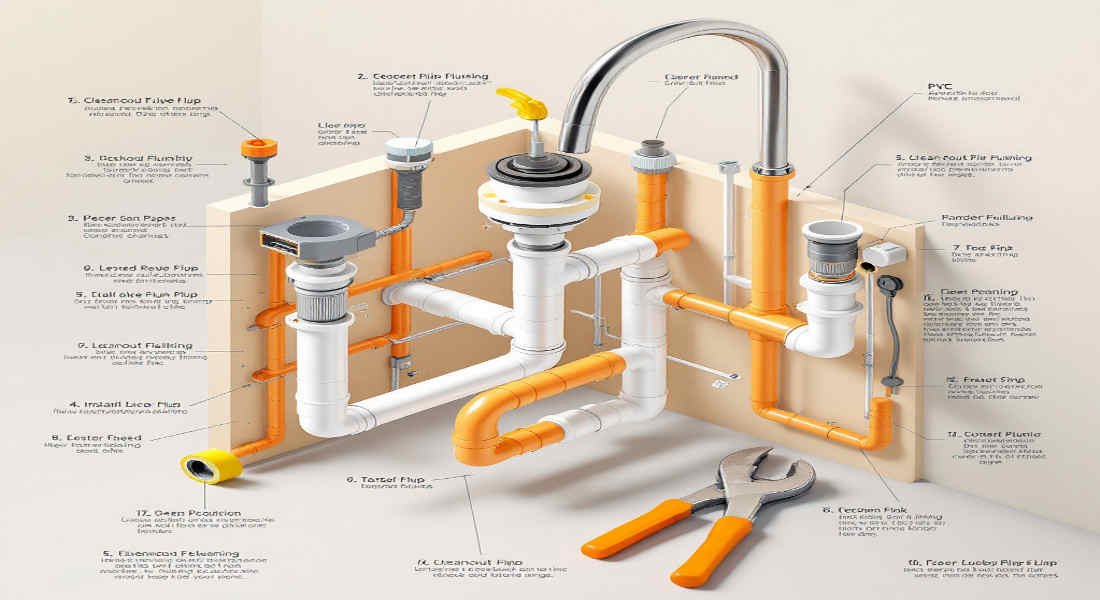
Installing a cleanout is only the first step. Regular maintenance is crucial to keep your plumbing system in good shape.
Cleaning the Cleanout
- Open the cleanout periodically to remove grease, debris, and buildup.
- Use a plumber’s snake or drain auger for thorough cleaning.
Recommended Inspection Frequency
Inspect your cleanout at least twice a year or whenever you notice slow drainage.
Warning Signs of Problems
Watch out for these signs, which may indicate a clogged or malfunctioning cleanout:
- Gurgling sounds from the drain.
- Foul odors coming from the sink.
- Water backing up into the sink.
Common Mistakes to Avoid When Installing a Cleanout
Even with a detailed guide, mistakes can happen. Here are some common errors to avoid:
MistakeConsequence
Incorrect placement Makes the cleanout hard to access or violates plumbing codes.
Over-tightening the plug Damages the threads, leading to leaks or difficulty removing the plug.
Skipping sealing materials Causes leaks or sewer gas to escape from the cleanout.
When to Call a Professional Plumber
While DIY installation is possible, there are situations where professional help is necessary:
- Complex Plumbing Systems: If your kitchen sink connects to multiple drains or has unique configurations.
- Code Compliance Issues: A licensed plumber will ensure your installation meets all regulations.
- Persistent Clogs: When clogs persist despite using a cleanout, a plumber can diagnose underlying issues.
Hiring a professional ensures peace of mind and a job done right.
You may also (cockroaches from infesting your home).