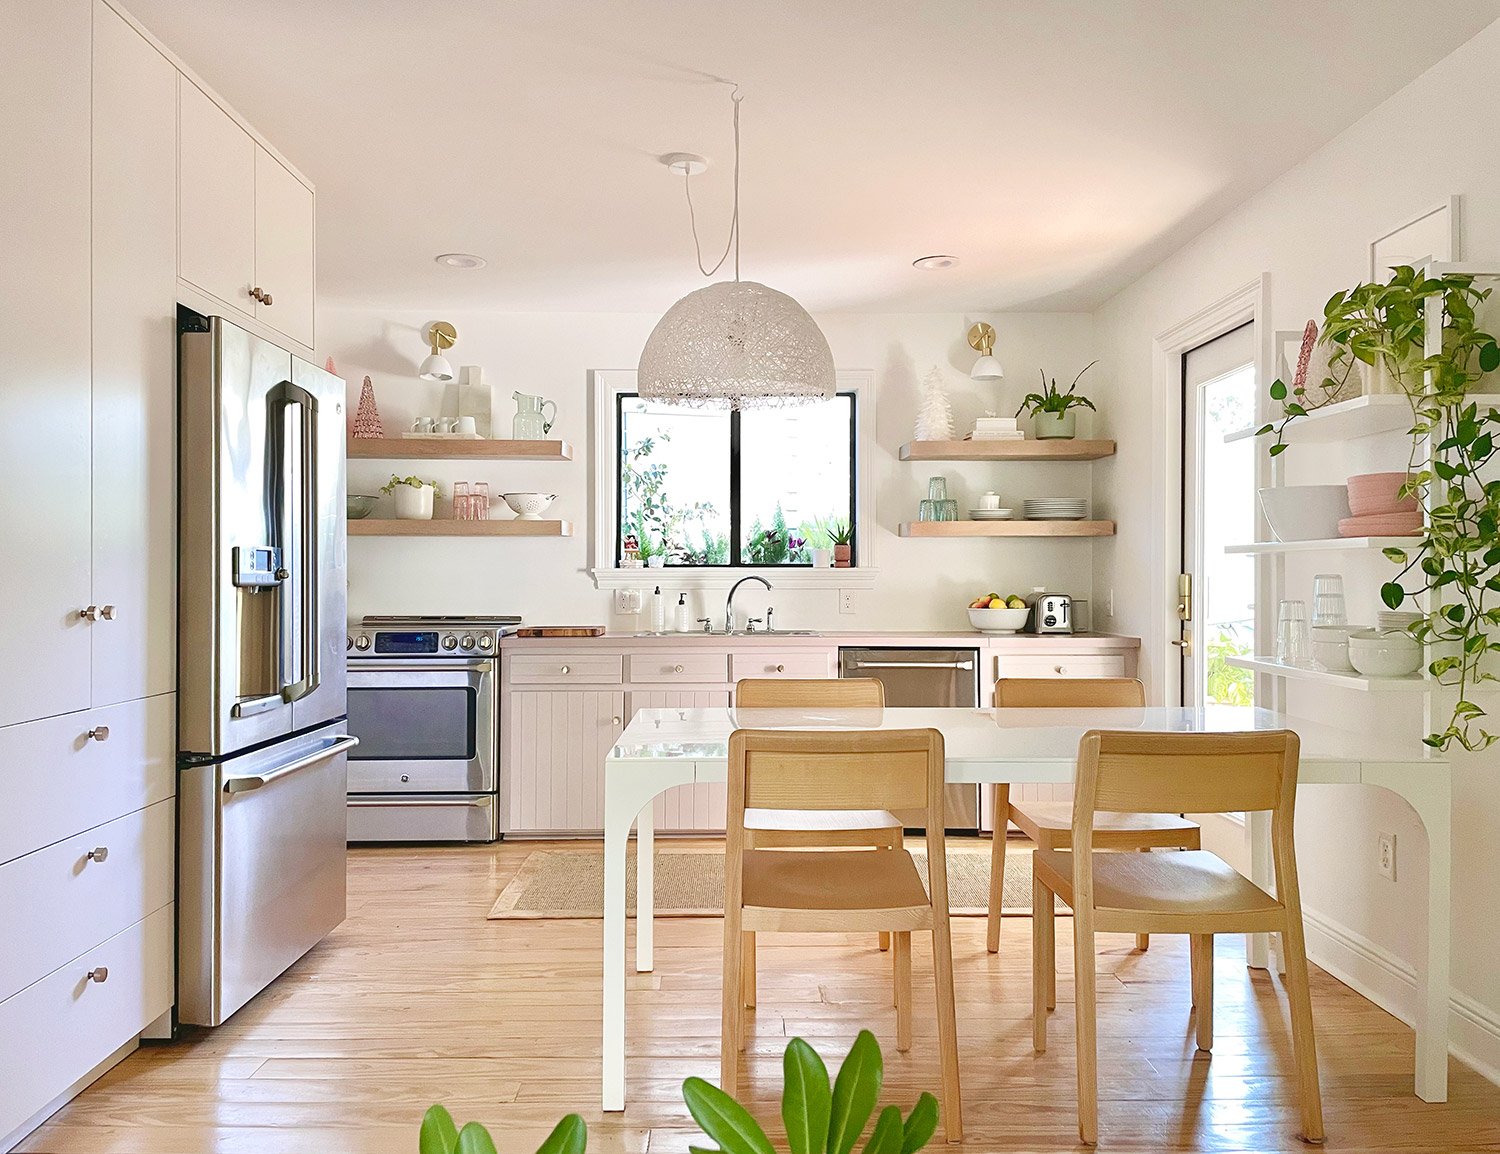
If you’ve been dreaming of upgrading your kitchen countertops without the hefty cost of a full replacement, you’re in the right place. Painting kitchen countertops is a creative, cost-effective way to breathe new life into your space. It’s simpler than you think and can yield stunning results.
The kitchen is the heart of any home, but outdated countertops can make it feel uninspired. Replacing countertops can cost thousands of dollars and require weeks of disruption. Enter countertop painting: a budget-friendly, creative alternative that can give you the look you want without breaking the bank.
Painting countertops is perfect for homeowners who want to refresh their kitchen or test out a design idea before committing to a costly remodel. Plus, with the right tools, techniques, and patience, anyone can take on this DIY project successfully.
Understanding Kitchen Countertop Painting
Before you pick up a paintbrush, let’s explore the basics of countertop painting. Understanding the surfaces, pros and cons, and common misconceptions can set you up for success.
What Surfaces Can Be Painted?
Not all countertops are created equal, and knowing which materials can be painted is crucial. Here’s a quick breakdown:
Countertop Material: Can It Be Painted? Notes
Laminate Yes. Requires proper sanding and priming for adhesion.
Stone (e.g., granite) Yes, with limitations. Needs thorough prep, and results may vary.
Tile, yes, and grit lines can be tricky but manageable.
Wood: Yes, Easy to paint but requires sealing to avoid water damage.
If you’re unsure, test a small, inconspicuous area before committing to the full surface.
Pros and Cons of Painting Countertops
Let’s weigh the advantages and disadvantages of painting your kitchen countertops.
Pros:
- Cost-effective: Save thousands compared to replacing countertops.
- Customizable: Choose any color or pattern, from solid hues to faux stone finishes.
- Quick transformation: A weekend project with immediate visual impact.
Cons:
- Durability concerns: Painted countertops may chip or scratch over time.
- Maintenance required: Sealing and regular care are needed to maintain the finish.
- Not permanent: While this is a pro for DIYers, some may prefer the longevity of new countertops.
Misconceptions About Countertop Painting
Some people worry that painted countertops won’t last or that they’ll look cheap. While it’s true that this project requires care, modern primers, paints, and sealers are designed to withstand daily use. With proper preparation and maintenance, your painted countertops can last for years.
Preparing Your Kitchen Countertops for Painting
Preparation is the foundation of a successful countertop painting project. Skipping these steps can lead to peeling paint, uneven finishes, and disappointment.
You may also read (home kitchen fire incident).
Cleaning
Start by thoroughly cleaning your countertops. Grease, grime, and food particles can prevent paint from sticking. Use a degreaser and scrub around high-use areas like the sink and stove.
Repairing
Inspect your countertops for any cracks, chips, or gouges. Fill these imperfections with a countertop repair kit or epoxy filler. Sand down the repaired areas for a flush surface.
Sanding
For materials like laminate, lightly sanding the surface will improve paint adhesion. Use fine-grit sandpaper (220 grit is ideal) and sand in circular motions. Wipe away any dust with a damp cloth.
Taping and Protecting
Use painter’s tape to cover edges, appliances, and backsplashes. This ensures clean lines and prevents accidental paint spills. Also, lay down a drop cloth to protect your floors.
Essential Supplies and Tools Needed
To achieve professional-looking results, you’ll need the right tools and materials. Here’s your go-to shopping list:
- Primer: Choose a high-quality primer designed for slick surfaces (e.g., Slick Stick).
- Paint: Acrylic, epoxy-based, or specialty countertop paints work best.
- Sealer/Topcoat: Look for durable options like epoxy resin or Gator Hide for protection.
- Brushes and Rollers: Foam rollers are ideal for smooth finishes, and brushes help with edges.
- Other Tools: Painter’s tape, sandpaper, rags, and gloves.
- Optional Tools: Sponges, feathers, or spray bottles for faux finishes.
Step-by-Step Guide: How to Paint House Kitchen Counter Tops
Follow these steps to transform your countertops with confidence:
Priming the Countertops
Primer is key to ensuring the paint adheres properly. Apply 1-2 thin coats of primer using a foam roller or brush. Allow each coat to dry completely before moving on.
Applying the Base Coat
Choose a neutral base color like white or gray. Apply thin, even coats of paint, allowing adequate drying time between layers. Most countertops require 2-3 coats for full coverage.
Creating Decorative Effects (Optional)
Want to mimic the look of marble or granite? Use chalk paint in various shades and tools like sponges or feathers to create veining and patterns. Blend colors for a natural effect.
Sealing the Painted Surface
A durable sealer is essential for protecting your work. Apply an epoxy resin or clear topcoat in thin, even layers. Follow the manufacturer’s instructions for drying and curing times.
Tips for a Successful Kitchen Countertop Painting Project
- Be Patient: Allow each layer to dry fully before moving on to the next step.
- Use Thin Coats: Thick coats can result in uneven finishes and longer drying times.
- Ventilation Matters: Work in a well-ventilated area to avoid inhaling fumes.
- Clean Regularly: Maintain your painted countertops by using gentle cleaning products.
Cost and Time Estimates for Painting Kitchen Countertops
Here’s what you can expect in terms of time and money:
- Cost: Approximately $200 for quality materials and tools.
- Time: Plan for 2-3 days, including drying and curing times.
Compared to replacing countertops (which can cost $2,000 or more), painting is a fraction of the price.
You may also read (easy fixes for a leaky kitchen faucet at home).
