
A leaky kitchen faucet is one of the most common household problems, yet it’s often overlooked. That constant drip-drip-drip can be more than just an annoyance—it can waste gallons of water, increase your utility bills, and even lead to water damage if left unchecked. But here’s the good news: fixing a leaky faucet doesn’t always require a plumber. With a few tools and some guidance, you can handle this on your own.
Understanding the Problem: Why Is Your Kitchen Faucet Leaking?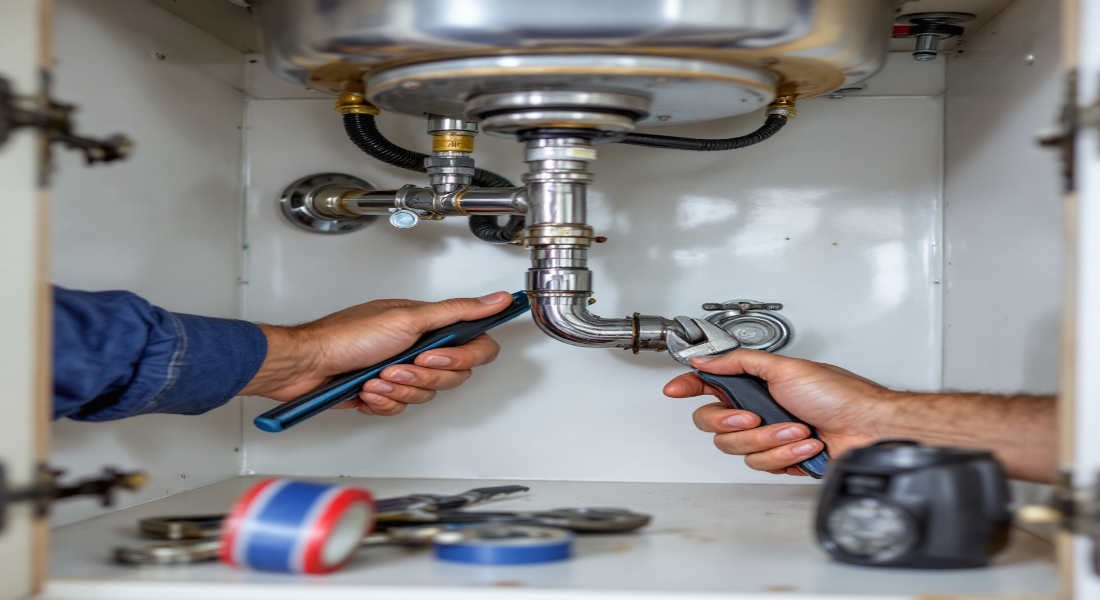
A leaky faucet can have multiple underlying causes, and identifying the root of the problem is essential before you begin repairs. Let’s take a closer look at the most common reasons your kitchen faucet might be leaking.
Worn-Out O-Rings
O-rings are small rubber seals that sit inside your faucet to prevent water from seeping out. Over time, these rings can wear down, crack, or become loose, causing leakage around the base of the faucet or spout.
Damaged Washers
Washers are another critical component of your faucet. They create a tight seal when the faucet is turned off. If the washer becomes worn or improperly installed, you might notice dripping water even when the faucet is closed.
Loose Connections Under the Sink
The connections between your faucet’s water supply lines can loosen over time, especially if the faucet is frequently used or bumped. This can lead to leaks under the sink, which are often harder to notice until they become severe.
Corroded Valve Seats
The valve seat connects the faucet and the spout. If it corrodes due to mineral buildup or wear, water can leak from the spout area.
Loose Faucet Handles
Sometimes, the problem lies in the faucet’s handling itself. If they are loose or not properly secured, water can escape through gaps, causing leaks.
How to Diagnose the Source of the Leak
To pinpoint the problem, follow these steps:
- Check for water pooling under the sink or around the faucet base.
- Feel for moisture on the faucet handles, spout, or connections.
- Observe the faucet when it’s in use—note where the water appears to leak from.
By diagnosing the issue correctly, you’ll avoid wasting time and effort on unnecessary repairs.
Tools and Materials You Will Need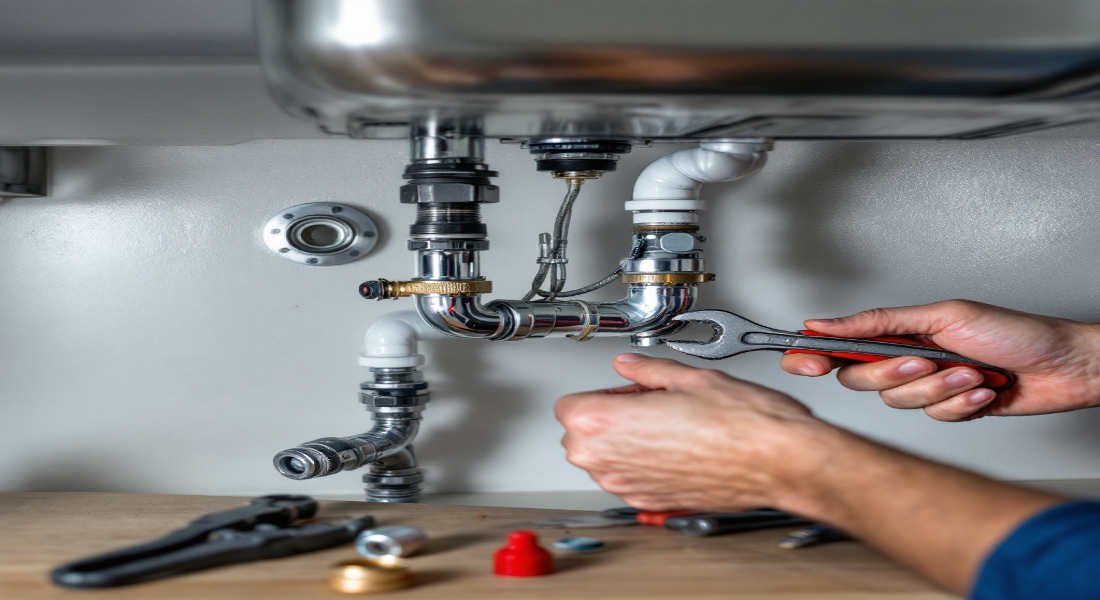
Before you get started, gather all the tools and materials you’ll need to tackle the repair. Being prepared ensures a smooth and efficient process.
You may also read (home kitchen fire incident).
Essential Tools for the Job
- Adjustable Wrench: For loosening and tightening connections.
- Screwdrivers: Both flathead and Phillips screwdrivers for removing screws.
- Plumber’s Tape: To seal connections and prevent leaks.
- Replacement O-Rings/Washers: Get the correct size for your faucet model.
- Plumber’s Grease: Helps O-rings and washers fit snugly.
- Bucket/Towels: To catch water and prevent messes.
Where to Buy Replacement Parts
You can find replacement parts like O-rings, washers, and valve seats at your local hardware store or online retailers. Make sure to bring your faucet’s model number or the old parts to ensure you get the right replacements.
Safety Tips Before You Start
- Turn off the water supply to prevent flooding.
- Plug the sink drain to avoid losing small parts.
- Keep a towel handy to wipe up any spills.
Step-by-Step Guide on How to Fix a Leaky Home Kitchen Faucet Under the Sink
Turn Off the Water Supply
Before starting, locate the water supply valves under the sink. Turn them clockwise to shut off the water flow. If you can’t find the valves, you may need to turn off the main water supply to your home.
Remove Faucet Handle and Access Internal Components
- Use a screwdriver to remove the screws on the faucet handle.
- Gently pull the handle off to expose the internal components.
- Keep the screws and small parts in a safe place to avoid losing them.
Inspect and Identify Damaged Parts
Carefully examine the faucet’s internal components, such as the O-rings, washers, and valve seats. Look for signs of wear, cracks, or corrosion.
You may also read (blocked drains in your home).
Replace Worn or Damaged Parts
- Remove the damaged O-rings or washers using pliers.
- Apply plumber’s grease to the replacement O-rings for a better seal.
- Install the new parts in the same position as the old ones.
Tighten Loose Connections Under the Sink
- Inspect the connections between the faucet and water supply lines.
- Use an adjustable wrench to tighten any loose fittings.
Reassemble the Faucet
Put all the components back together in reverse order. Ensure everything is securely fastened, but don’t overtighten screws, as this may cause damage.
Turn the Water Supply Back On and Test
Slowly turn the water supply valves back on and check for leaks. If water still leaks, double-check that all connections are tight and parts are correctly installed.
When to Call a Professional Plumber
While many leaks can be fixed with DIY solutions, there are situations where it’s best to call in a professional.
Signs You Need Professional Help
- The leak persists after replacing parts.
- You notice corrosion or damage to the pipes.
- There’s extensive water damage under the sink.
Benefits of Hiring a Plumber
A professional plumber can diagnose complex issues, use advanced tools, and ensure a long-lasting repair.
Tips to Prevent Future Leaks
Preventive maintenance can save you time and money in the long run. Follow these tips to keep your faucet in good condition:
Regular Maintenance
Inspect your faucet every few months for signs of wear and tear.
Use Quality Parts
Invest in high-quality O-rings, washers, and other components to ensure durability.
Avoid Harsh Chemicals
Harsh cleaning products can damage seals and increase the risk of leaks.
Monitor Water Pressure
High water pressure can strain your faucet. Use a pressure regulator if necessary.
You may also read (grease in your home kitchen sink).