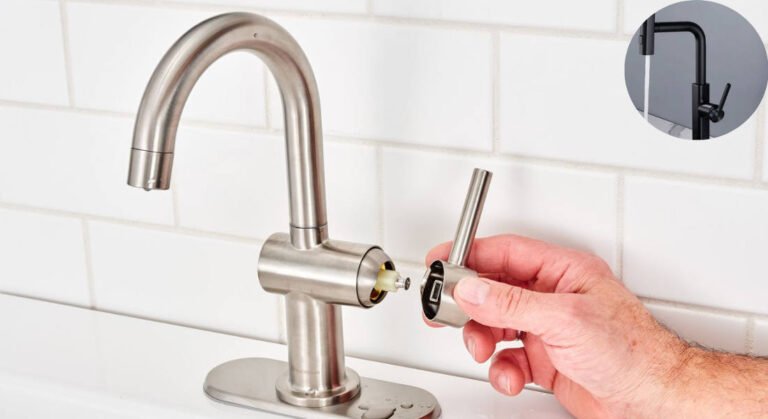
A loose kitchen faucet can be a frustrating problem that many homeowners encounter. Over time, repeated use, wear and tear, and improper installation can cause your faucet to wobble, leak, or even lead to damage under your sink. Luckily, this issue is something you can fix yourself with just a few tools and a bit of know-how.
Why Tightening Your Kitchen Faucet Matters
A loose faucet may seem like a minor inconvenience, but it can lead to bigger problems if left unchecked. Whether your faucet is wobbly at the base or its handle feels loose, addressing the issue promptly is essential.
Here’s why:
- Prevent Leaks: A loose faucet can cause water to seep into your sink area, leading to mould and mildew growth.
- Avoid Costly Repairs: Ignoring the problem might result in water damage to your cabinets, countertops, or even plumbing.
- Improve Functionality: A tight faucet ensures smooth operation and prevents annoying rattles or leaks while in use.
Let’s first understand why your faucet becomes loose in the first place.
Understanding Why Your Kitchen Faucet Becomes Loose
A kitchen faucet is made up of several components, and over time, these parts can loosen due to normal wear and tear. Below are some common reasons for a loose faucet:
You may also read (blocked drains in your home).
Common Causes of a Loose Kitchen Faucet
- Worn-Out O-Rings: O-rings are small rubber parts that help create a watertight seal. Over time, they can wear out or break, causing the faucet to loosen.
- Loose Mounting Nuts: The mounting nuts that secure your faucet to the sink may loosen due to vibrations and frequent use.
- Damaged Screws: Screws that hold the faucet or handles in place may become stripped or loose, leading to wobbling.
Effects of Ignoring the Problem
Neglecting a loose faucet can lead to:
- Water damage under your sink or to surrounding areas.
- Increased water bills due to leaks.
- Costly repairs that could have been avoided with simple maintenance.
It’s always better to fix a loose faucet early. Let’s move on to what tools you’ll need to get started.
Tools You Will Need to Tighten Your Kitchen Faucet
Before diving into the repair process, gather the necessary tools. Having the right tools on hand will make the task much easier.
Essential Tools
Here’s a list of tools you’re likely to need:
- Adjustable Wrench: This is for tightening nuts of various sizes.
- Basin Wrench: Perfect for accessing nuts in tight spaces under the sink.
- Channel Locks: These pliers can grip and turn larger nuts.
- Screwdrivers: Both flathead and Phillips screwdrivers are typically needed for faucet repairs.
- Flashlight: To illuminate the workspace under your sink.
- Gloves: To protect your hands during the process.
Optional Tools
In some cases, these additional tools might come in handy:
- Mini Knife: Useful for removing debris or old plumber’s tape.
- Hex Wrench/Allen Key: Required to tighten set screws on faucet handles.
Pro Tip: For hard-to-reach areas, invest in a flexible basin wrench. It’s a lifesaver for working in tight spaces!
Now that you have your tools ready, let’s walk through the step-by-step process of tightening your kitchen faucet.
Step-by-Step Guide: How Do I Tighten My Home Kitchen Faucet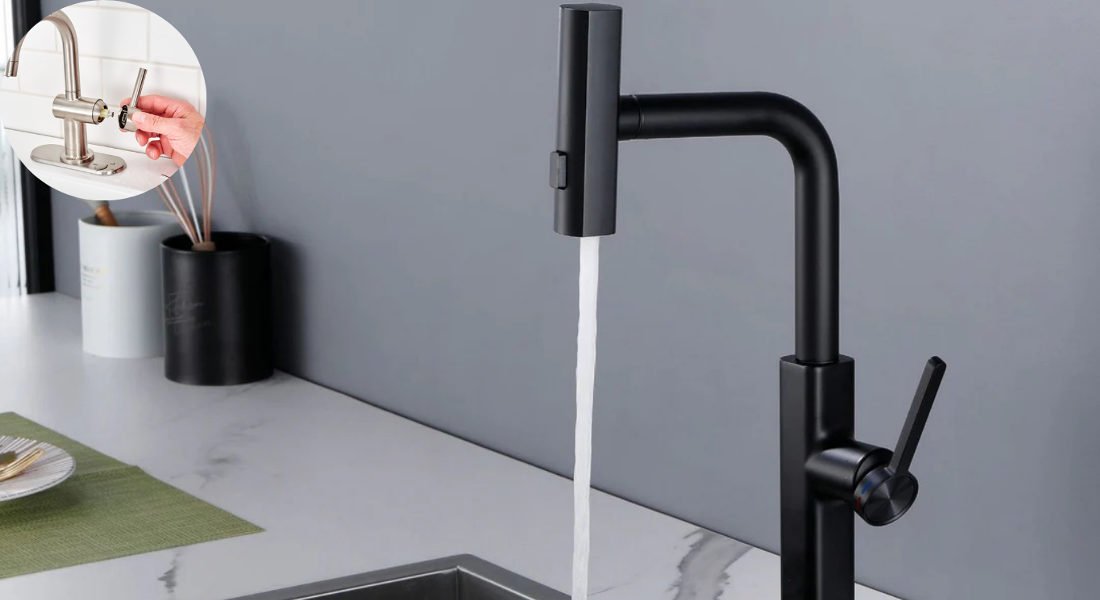
Follow these five simple steps to tighten your faucet and restore its stability:
You may also read (understanding home kitchen faucet thread).
Prepare Your Workspace
- Clear Out the Cabinet: Remove everything under your sink to create enough room to work.
- Turn Off the Water Supply: Shut off both the hot and cold water valves to prevent leaks while working.
- Use Proper Lighting: Position a flashlight under the sink to clearly see the faucet components.
Tip: Place a towel or bucket under the sink to catch any accidental drips.
Locate the Faucet Nut
- Identify the type of faucet you have:
- Single-Handle Faucet: The mounting nut is typically located beneath the sink, directly below the faucet base.
- Two-Handle Faucet: You’ll find nuts under both handles.
- Use your flashlight to locate the winged nuts or metal mounting nuts securing the faucet.
Tighten the Faucet Nut
- For Winged Nuts: Tighten them by hand or with a pair of pliers.
- For Metal Nuts: Use an adjustable wrench or basin wrench to turn the nut clockwise.
- Avoid overtightening, as this could damage the sink or faucet.
Tighten the Faucet Handle
- Check if the faucet handle is loose:
- Look for small set screws near the base of the handle.
- Use a hex wrench or screwdriver to tighten these screws.
- If the handle has a decorative cap, carefully remove it to access the screws underneath.
Final Checks and Testing
- Turn the water supply back on and check for any leaks.
- Test the faucet’s movement and ensure it’s stable.
- Reorganise your under-sink cabinet, and you’re done!
Additional Tips for Maintaining a Tight Kitchen Faucet
Once your faucet is secure, follow these maintenance tips to prevent it from becoming loose again:
- Inspect Regularly: Periodically check your faucet for signs of looseness or leaks.
- Replace Worn Parts: Promptly replace O-rings, washers, or screws if they show signs of wear.
- Avoid Overuse of Force: Be gentle when using your faucet to prevent unnecessary strain on its components.
You may also read (regrouting your home kitchen floor).
