
Lightening kitchen cabinets has become a popular trend in home design. Many homeowners want to transform their kitchens into light-filled havens with the shift towards brighter, more open spaces. Lighter cabinets can make a significant difference in your kitchen’s aesthetics and mood. They create an open and airy feel, making the space larger and more inviting.
Not only do lighter cabinets enhance the overall look of your kitchen, but they also come with cost and effort benefits compared to a full cabinet replacement. Instead of investing in new cabinetry, many homeowners opt for methods to lighten their existing cabinets.
Why Lighten Your Kitchen Cabinets?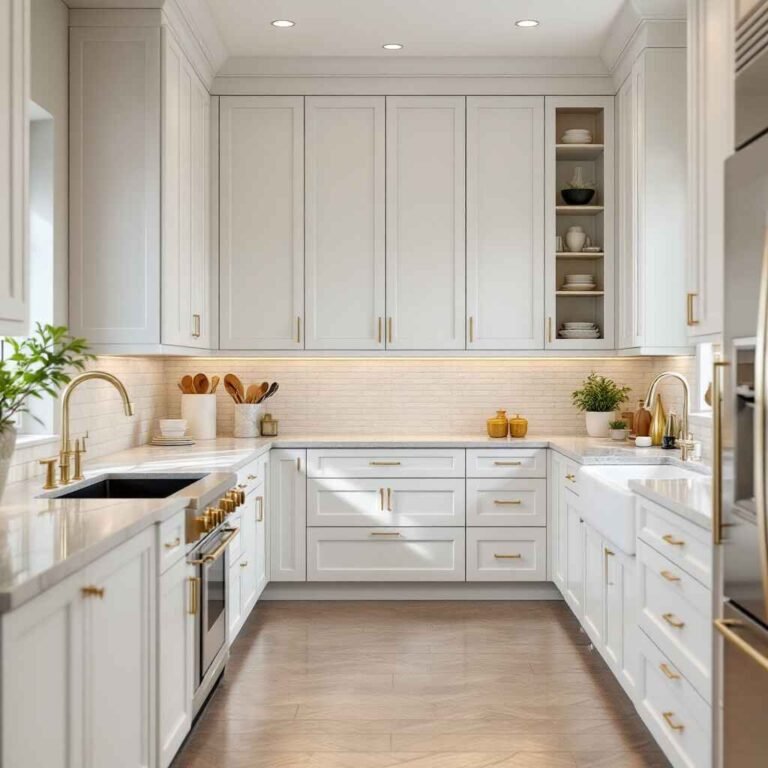
Psychological and Design Benefits
Choosing lighter colours for your kitchen cabinets can have a profound psychological effect. Lighter shades tend to evoke feelings of calmness and positivity. When you step into a kitchen with light cabinets, it often feels more welcoming and spacious. Bright colours reflect light, making your kitchen seem larger and more open.
Cabinet Colour and Light Reflection
The colour of your cabinets significantly affects how light reflects within your kitchen. Darker colours absorb light, making the space feel smaller and more enclosed. In contrast, lighter colours reflect light, enhancing the brightness and creating an illusion of more space. Lightening your cabinets can be an effective solution if your kitchen feels cramped.
When to Consider Lightning Instead of Replacing
Before replacing your cabinets, consider lighting them as a more cost-effective option. If your cabinets are structurally sound but simply outdated in colour, lighting them can save time and money. It’s a DIY-friendly approach that can yield stunning results without the hassle of a complete remodel.
Methods for Lightening Kitchen Cabinets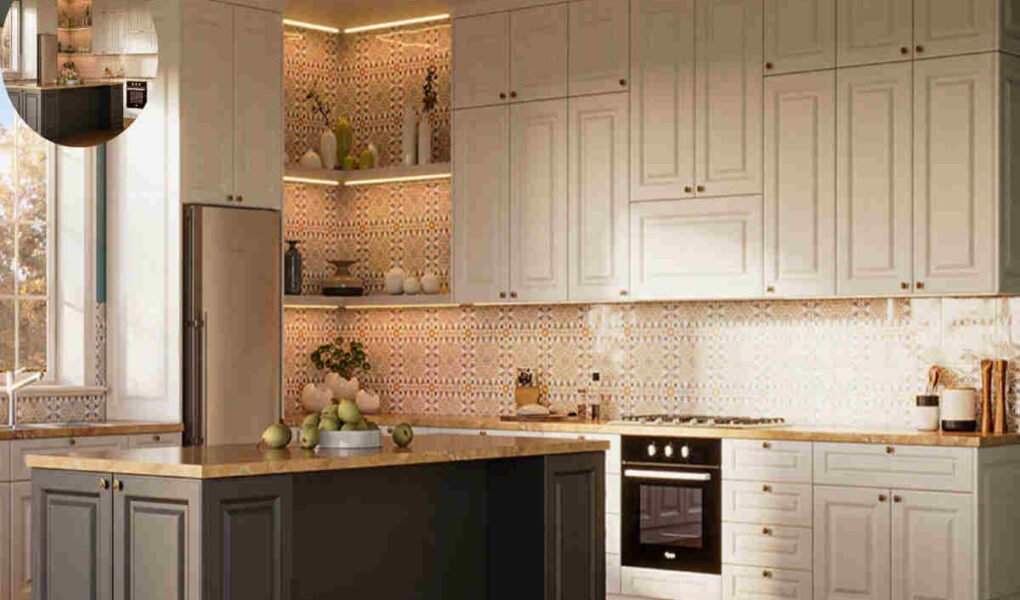
Here’s a quick overview of popular methods to lighten kitchen cabinets, along with their difficulty level, estimated cost, and who they’re best suited for:
You may also read (flooring for your home).
MethodDifficultyCostBest For
Bleaching Medium Low Natural wood, DIYers
Painting Easy-Med Low-Med All cabinet types
Staining/Limewashing Medium Low-Med Wood cabinets, grain lovers
Refacing Medium Med-High Outdated surfaces
Step-by-Step: How to Lighten Home Kitchen Cabinets with Bleach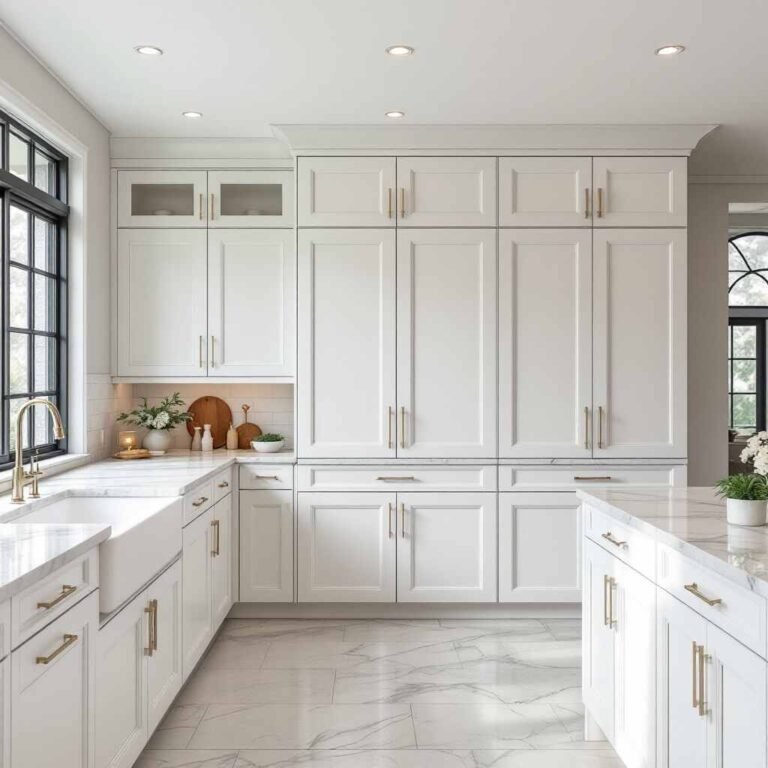
Preparation
Before you start, it’s essential to prepare your workspace. Here’s how:
- Remove cabinet doors, hardware, and drawers: This allows easier access and prevents accidental damage.
- Clean all surfaces thoroughly: Use a degreaser to remove any grease and residue hindering bleaching.
- Set up a workspace: Lay down tarps to protect your floors and ensure proper ventilation.
Sanding the Cabinets
Sanding is a crucial step in the bleaching process. It helps the bleach penetrate the wood more effectively. Use medium-grit sandpaper to lightly sand the surfaces. Ensure you follow the grain of the wood for best results.
Applying the Bleach
You have two main options when applying bleach: household bleach or two-part wood bleach.
- Household bleach is more accessible but may require sunlight to enhance the lightening effect.
- Two-part wood bleach is more effective, especially on darker woods, but it can be more expensive.
Here’s how to apply bleach step-by-step:
- Apply bleach with a brush: Start in a small section to control the application.
- Let it sit: Follow the manufacturer’s instructions for the recommended time.
- Use sunlight: If you’re using household bleach, placing your cabinets in sunlight can help accelerate the process.
Safety Precautions
Always wear gloves and a mask to protect yourself from strong fumes. Ensure your workspace is well-ventilated.
Checking and Repeating the Process
After the initial application, check the colour. You can reapply bleach if it’s not as light as you desire. Remember to wait for the wood to dry completely before reapplying.
Neutralising and Cleaning
Once you achieve the desired colour, you need to neutralise the bleach. This step is crucial to prevent any further chemical reactions. Wipe off any residual bleach thoroughly and follow the product instructions for neutralising the wood, if required.
Finishing Touches
After bleaching, do some light sanding for a smoother finish. Applying a clear protective finish or sealer to preserve your new, lighter look is also a good idea.
Reinstalling Cabinets
Now it’s time to put everything back together! Reattach the hardware and doors. Use gentle cleaning methods and avoid harsh chemicals to maintain the new look.
Alternative DIY Methods to Lighten Cabinets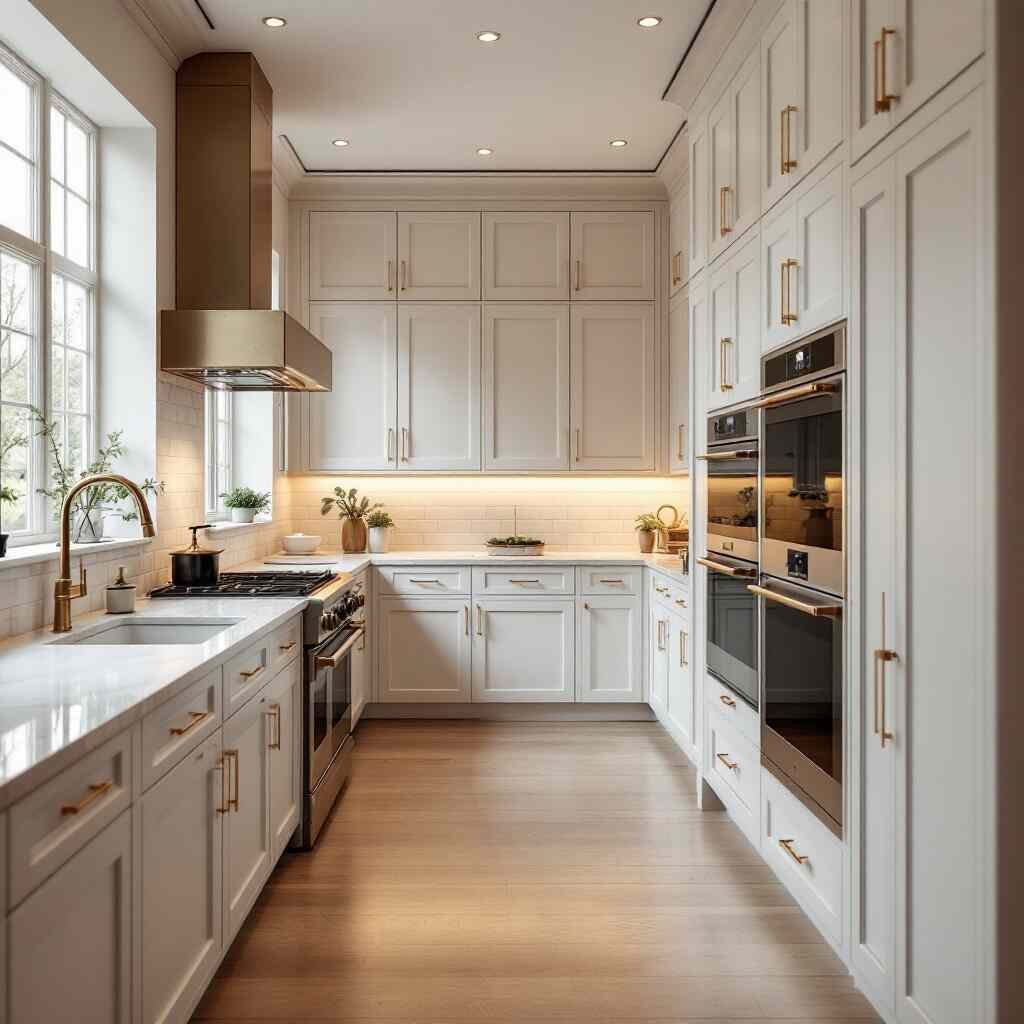
If bleaching isn’t your preferred method, here are some alternatives:
Painting Cabinets a Lighter Colour
Painting can be an effective way to achieve a lighter look. Here are some best practices:
- Choose the right paint: Opt for high-quality kitchen cabinet paint that can withstand wear and tear.
- Use primer: A primer helps the paint adhere better and provides a smooth finish.
Step-by-Step Painting Process
- Prepare the surface: Clean, sand, and prime the cabinets.
- Apply paint: Use a foam roller for a smoother finish.
- Let it dry: Allow ample time for drying between coats.
Staining or Limewashing for a Lighter Wood Look
If you prefer to keep the wood grain visible, consider staining or limewashing:
- Staining: Apply a lighter stain after stripping the old one.
- Limewash/whitewash: This method gives a rustic, airy finish and is ideal for achieving a lighter wood look.
Refacing Cabinets
Refacing involves replacing the cabinet doors and drawer fronts while keeping the existing structure. This option can be worth it if your cabinets are still in good shape but look outdated.
Pros and cons:
- Pros: Faster and often less expensive than a complete remodel.
- Cons: Style changes are limited compared to a complete replacement.
Additional Tips to Brighten Your Kitchen
Lighting your cabinets is just one aspect of creating a brighter kitchen. Here are some additional tips:
- Under-cabinet and recessed lighting can significantly enhance brightness and add a modern touch.
- Choose light-colored backsplashes and countertops: Light surfaces reflect more light and contribute to a bright environment.
- Strategic cabinet placement: Removing upper cabinets in certain areas can allow more light to flow through.
- Accessorise with reflective or light-colored hardware: This small change can make a big difference in the overall aesthetic.
Maintenance and Care for Lightened Cabinets
Once your cabinets are lightened, it’s essential to maintain them properly:
- Best cleaning practices: Use gentle cleaners to preserve the finish and avoid harsh chemicals.
- Touching up scratches or stains: Keep a small amount of your finish handy for quick touch-ups.
- Preventing yellowing or discolouration: Avoid placing hot items directly on surfaces and ensure good air circulation.
You may also read (kitchen floor tile white)